Posts in category 'knitting'
- (https://b-ark.ca/_mmCKI)
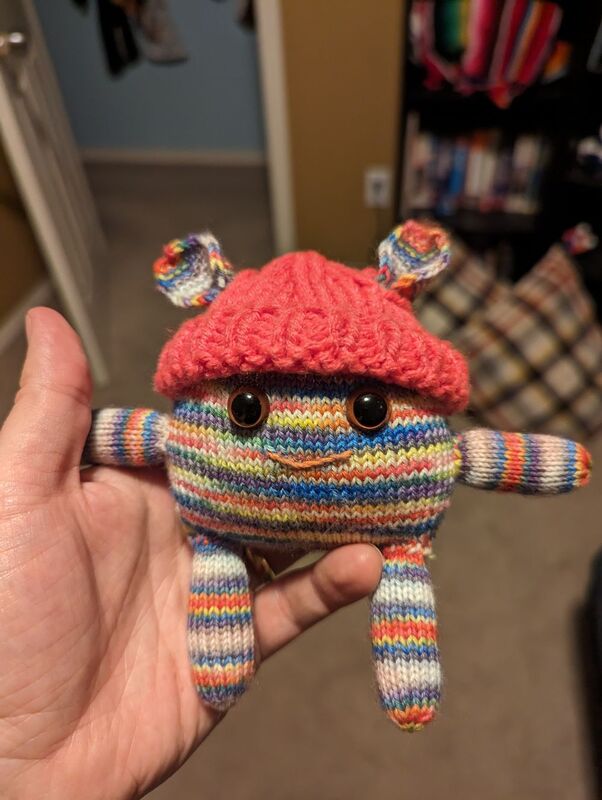
First attempt at a little stuffy. A bit rough in spots and my joining is horrible but in the end it turned out alright!
Sock Knitting 101
Someone recently asked me for pointers to good sock knitting lessons. Not a pattern. Lessons on how to really grok knitting socks. So I decided to try throwing something together, specifically for how I approach toe-up socks! Warning, this is definitely a first draft, so it’s very possible I’ll come back and update this post to fix things up…

So, way back in the before time, I decided to attempt to knit a pair of socks. Not one to do things the normal way, I opted for the toe-up lessons from Denise Powell on the now defunct socknitters.com. The thing that really attracted me to toe-up was the idea that I could just try socks on as I went rather than trying to nail the sizing up front, something that, as a not very confident knitter, I didn’t think I had a hope in heck of getting right.
Now, many years later, I can’t imagine knitting socks any other way. Toe-up just feels inherently intuitive to me (though, admittedly, it isn’t without its downsides, as most patterns are set up for cuff-down socks, which means you’ve gotta do extra work to reverse them).
In part, I think this is because of Powell’s approach to teaching sock knitting, which did away with teaching the reader to follow a rote pattern, but instead focused on the structural elements of socks and how you knit each component. This gave the reader a much more fundamental understanding of sock construction, thereby helping the knitter build that necessary intuition that allows for later improvisation.
Well, I decided to take a crack at writing a new set of lessons inspired by Denise’s work and my own experiences both knitting socks and teaching others to do the same. I hope this is useful to aspiring sock knitters out there!
Continue reading...- (https://b-ark.ca/IcaaW2)
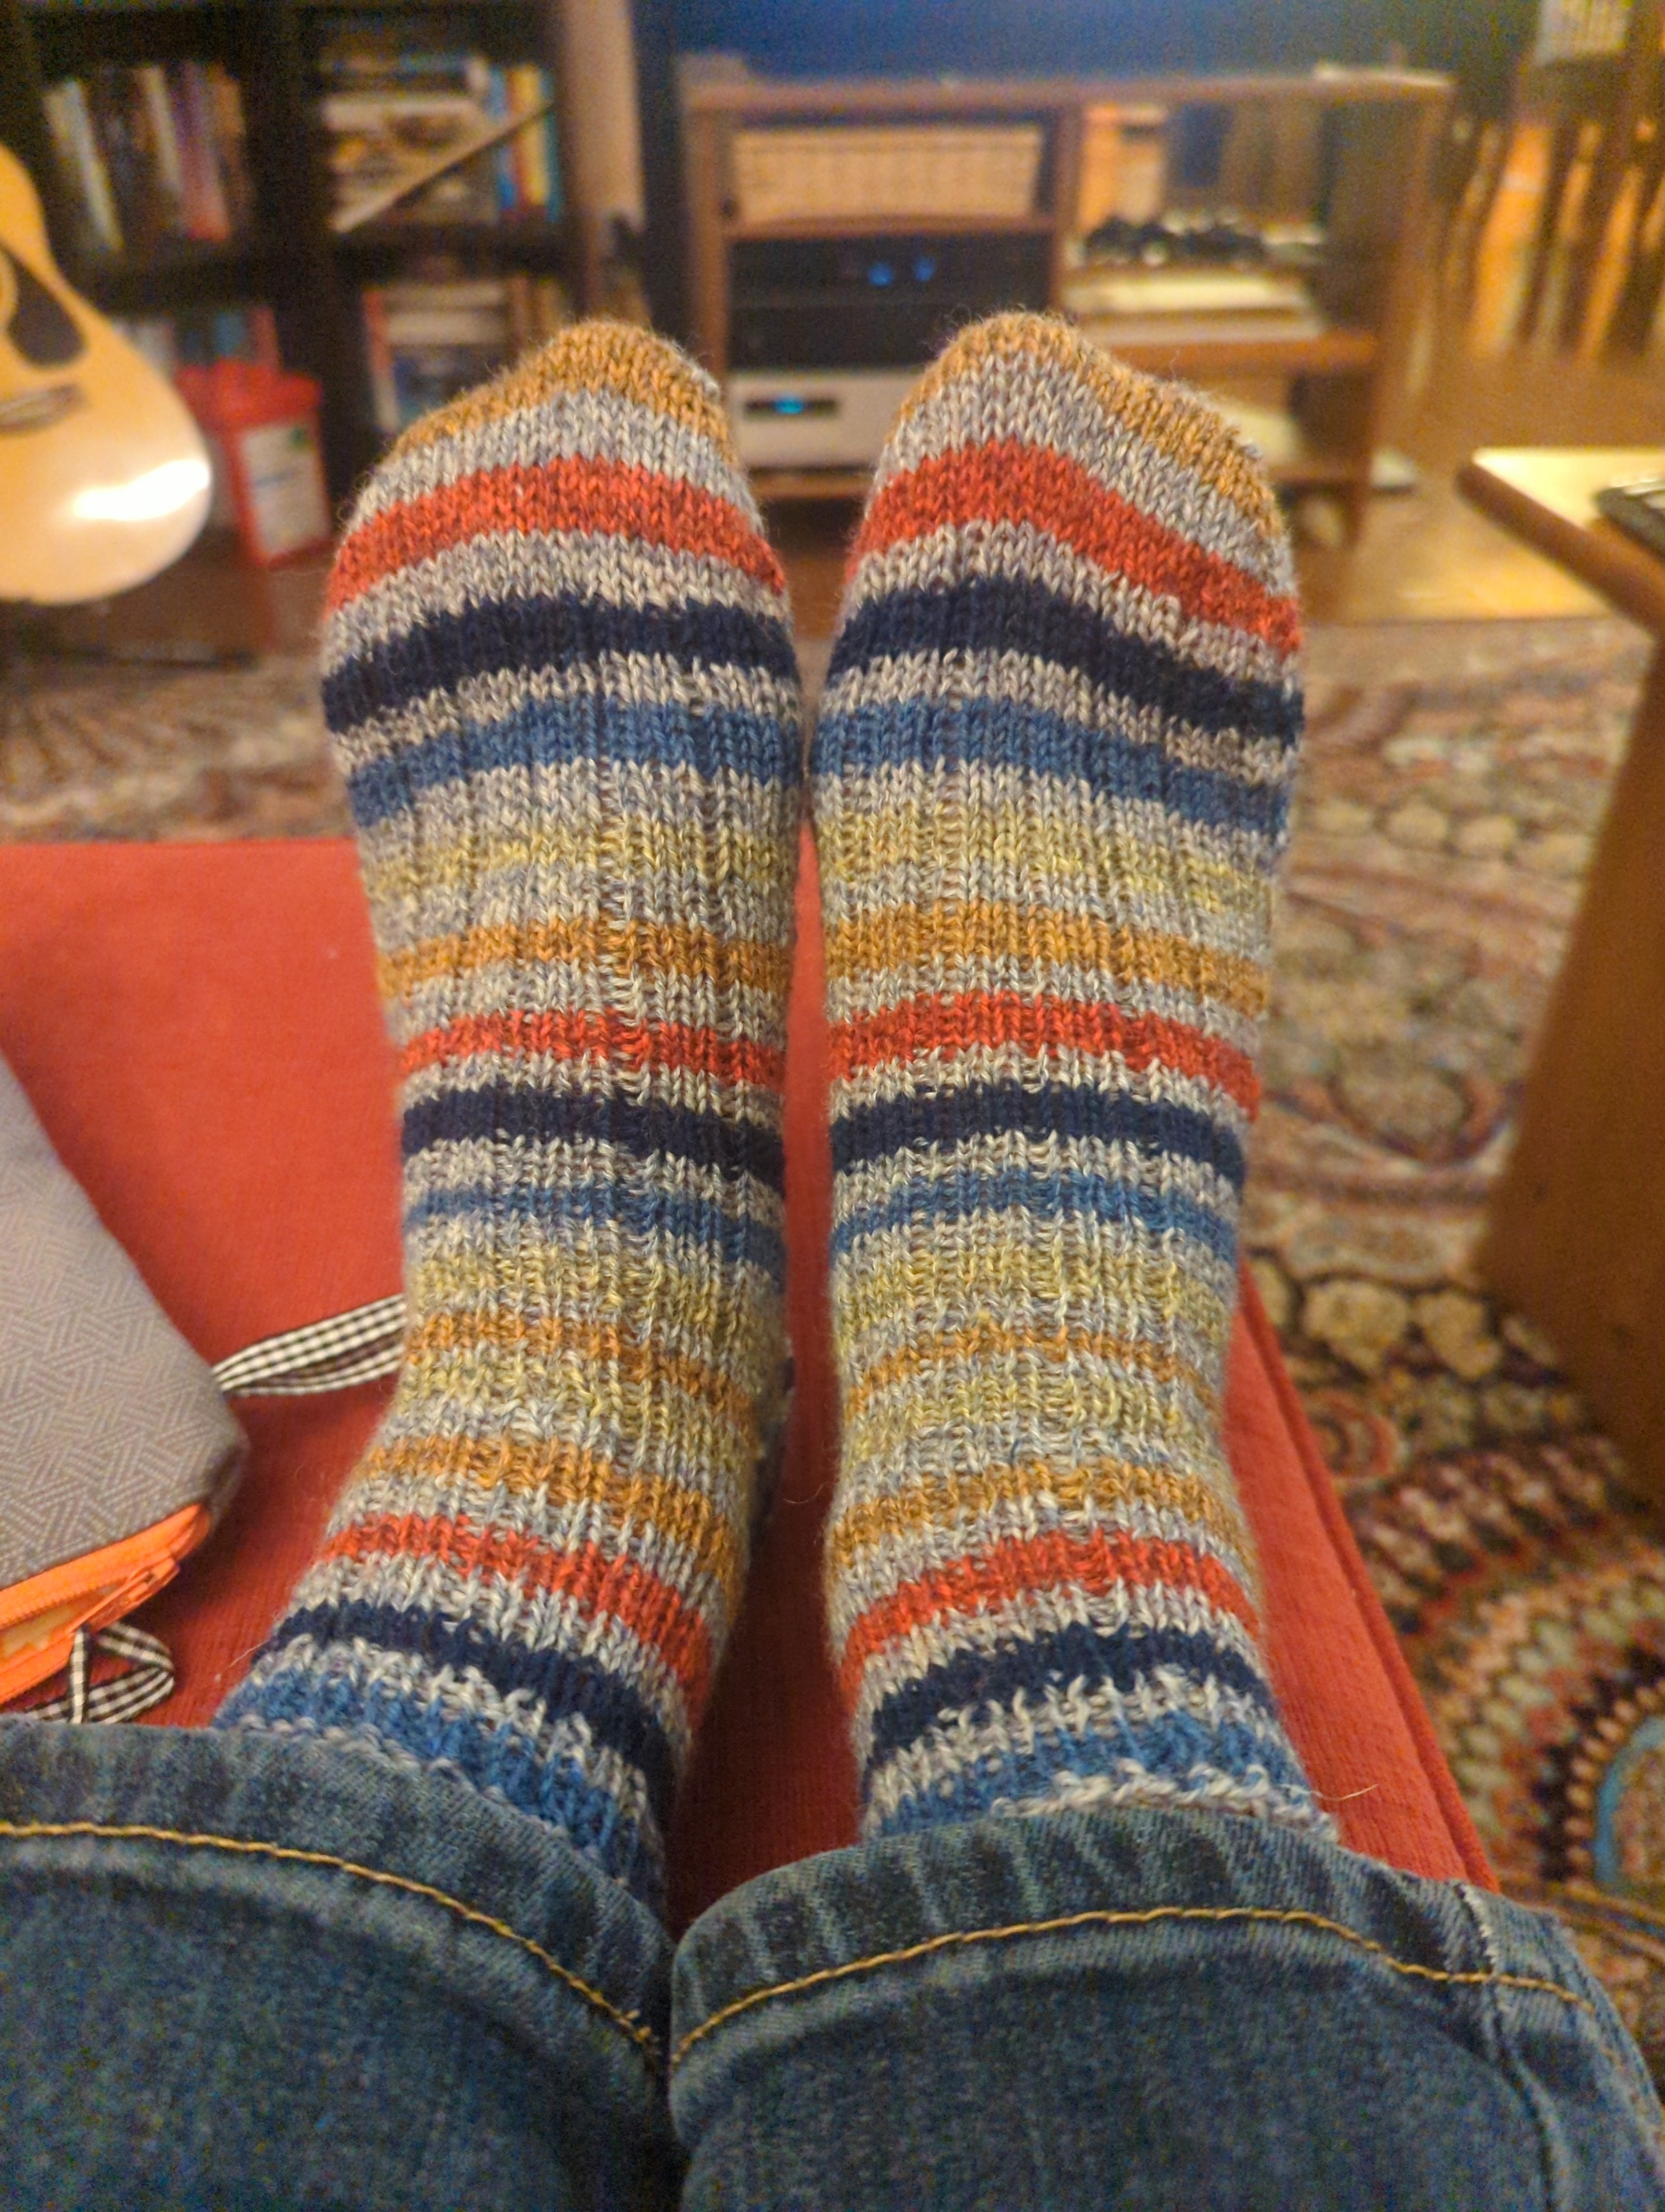
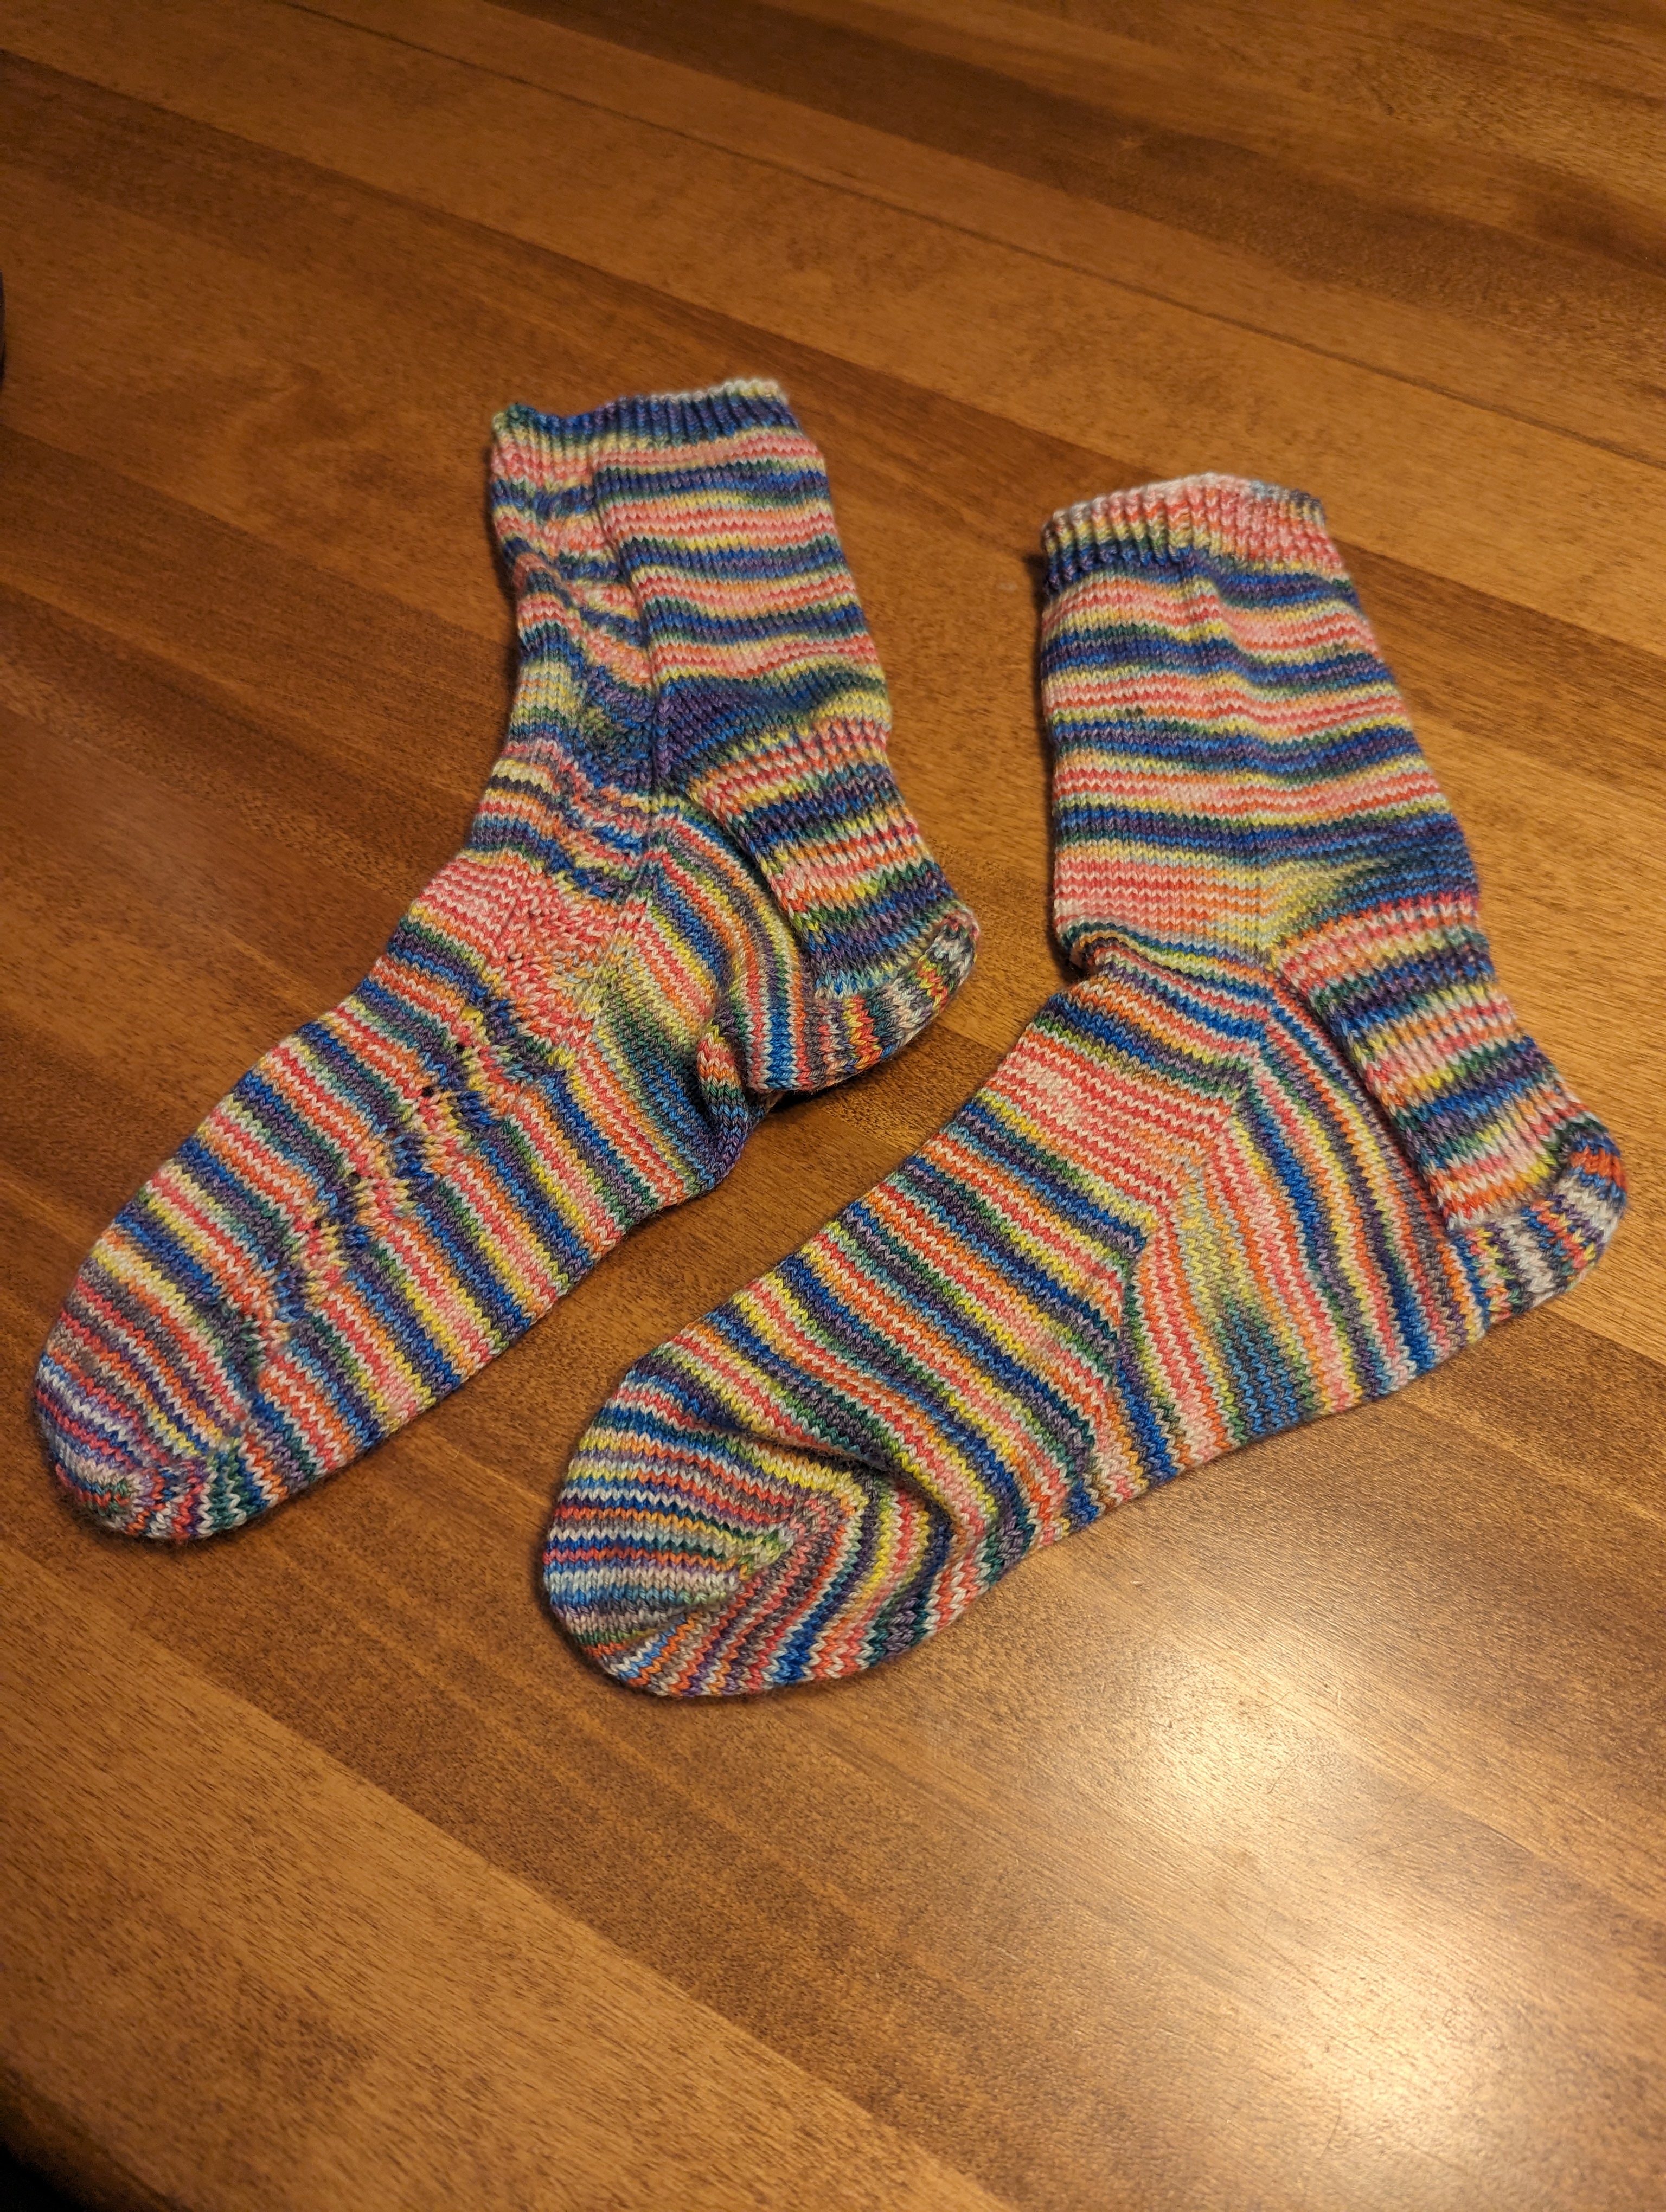
I warned you. Sock knitting blog. A repeat of the last pair but in a different colourway.

- (https://b-ark.ca/sGY8Y8)
Apologies to anyone who follows me, but apparently this is now a sock knitting blog…
- (https://b-ark.ca/AGcyYk)
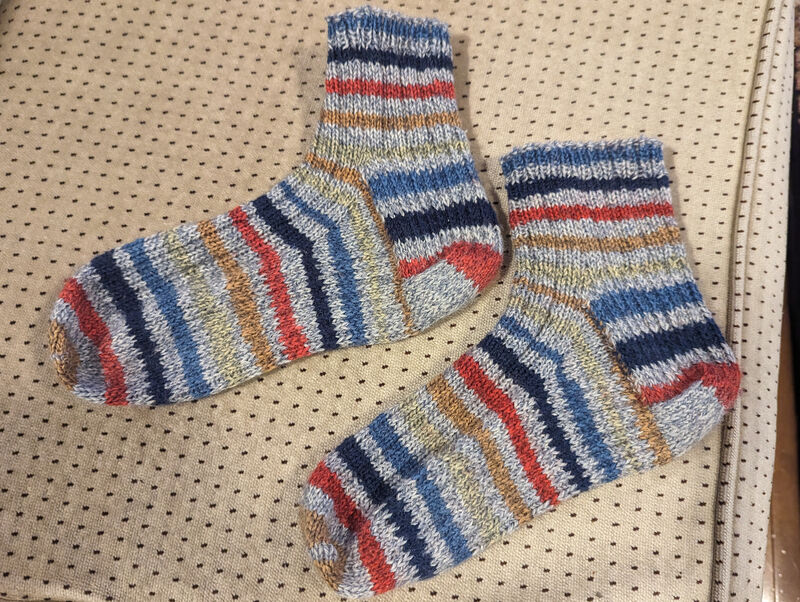
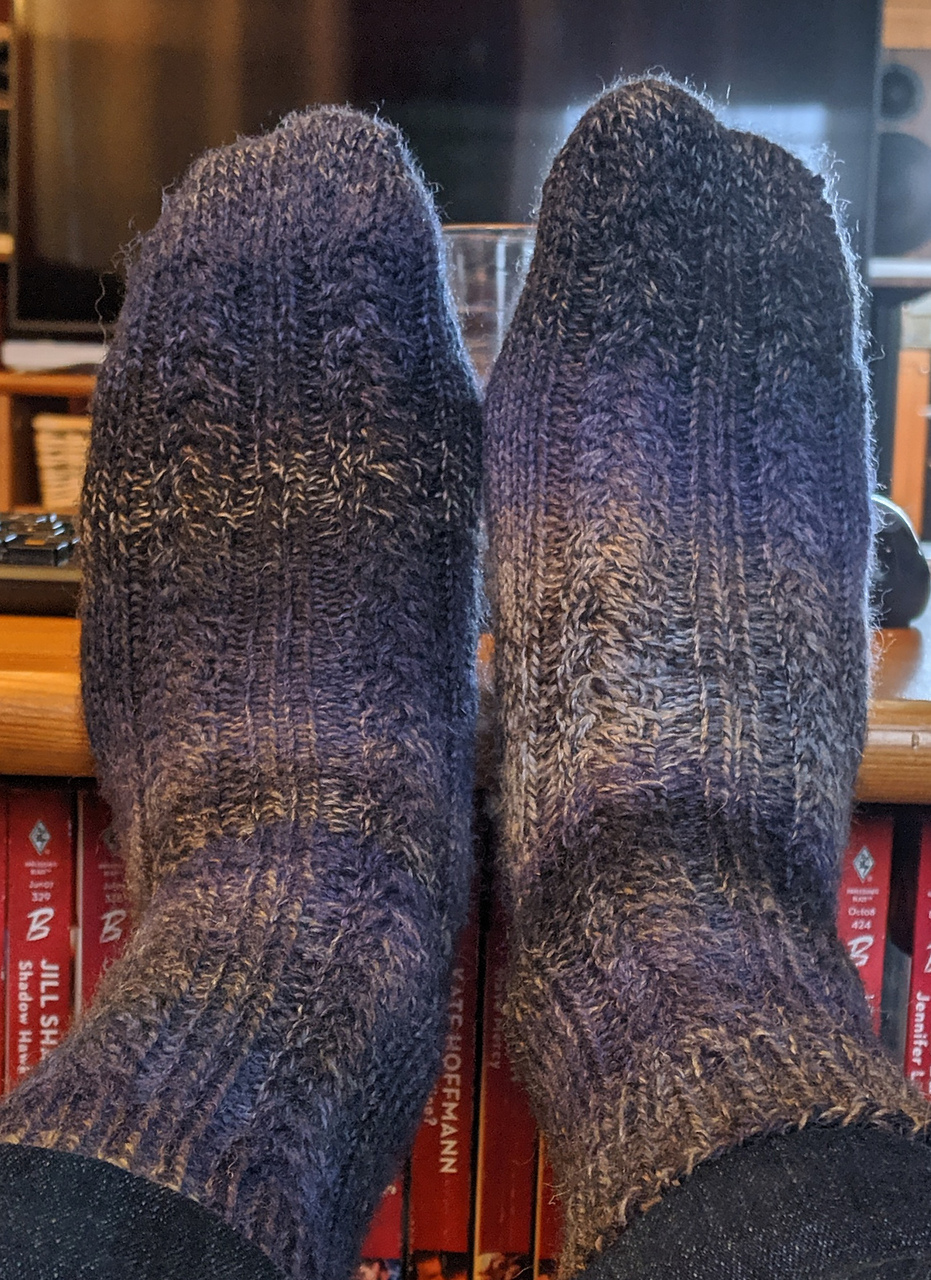
Another sock done (first of a pair)! Like my last pair, these socks have a slip stitch bottom and then I added a 3x1 rib on the top and leg for a little stretch and texture. Meanwhile I finished the second toe, and I actually tried to make the stripes match this time….
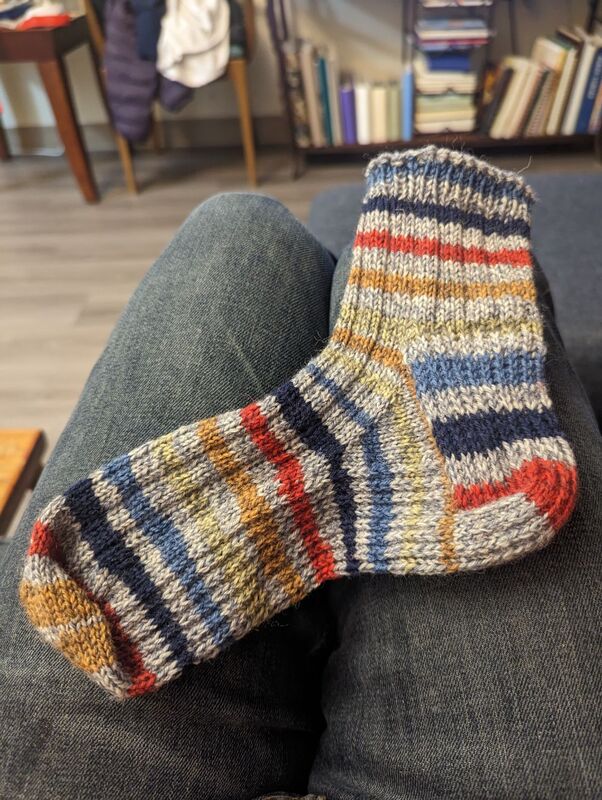
- (https://b-ark.ca/4MYE4i)
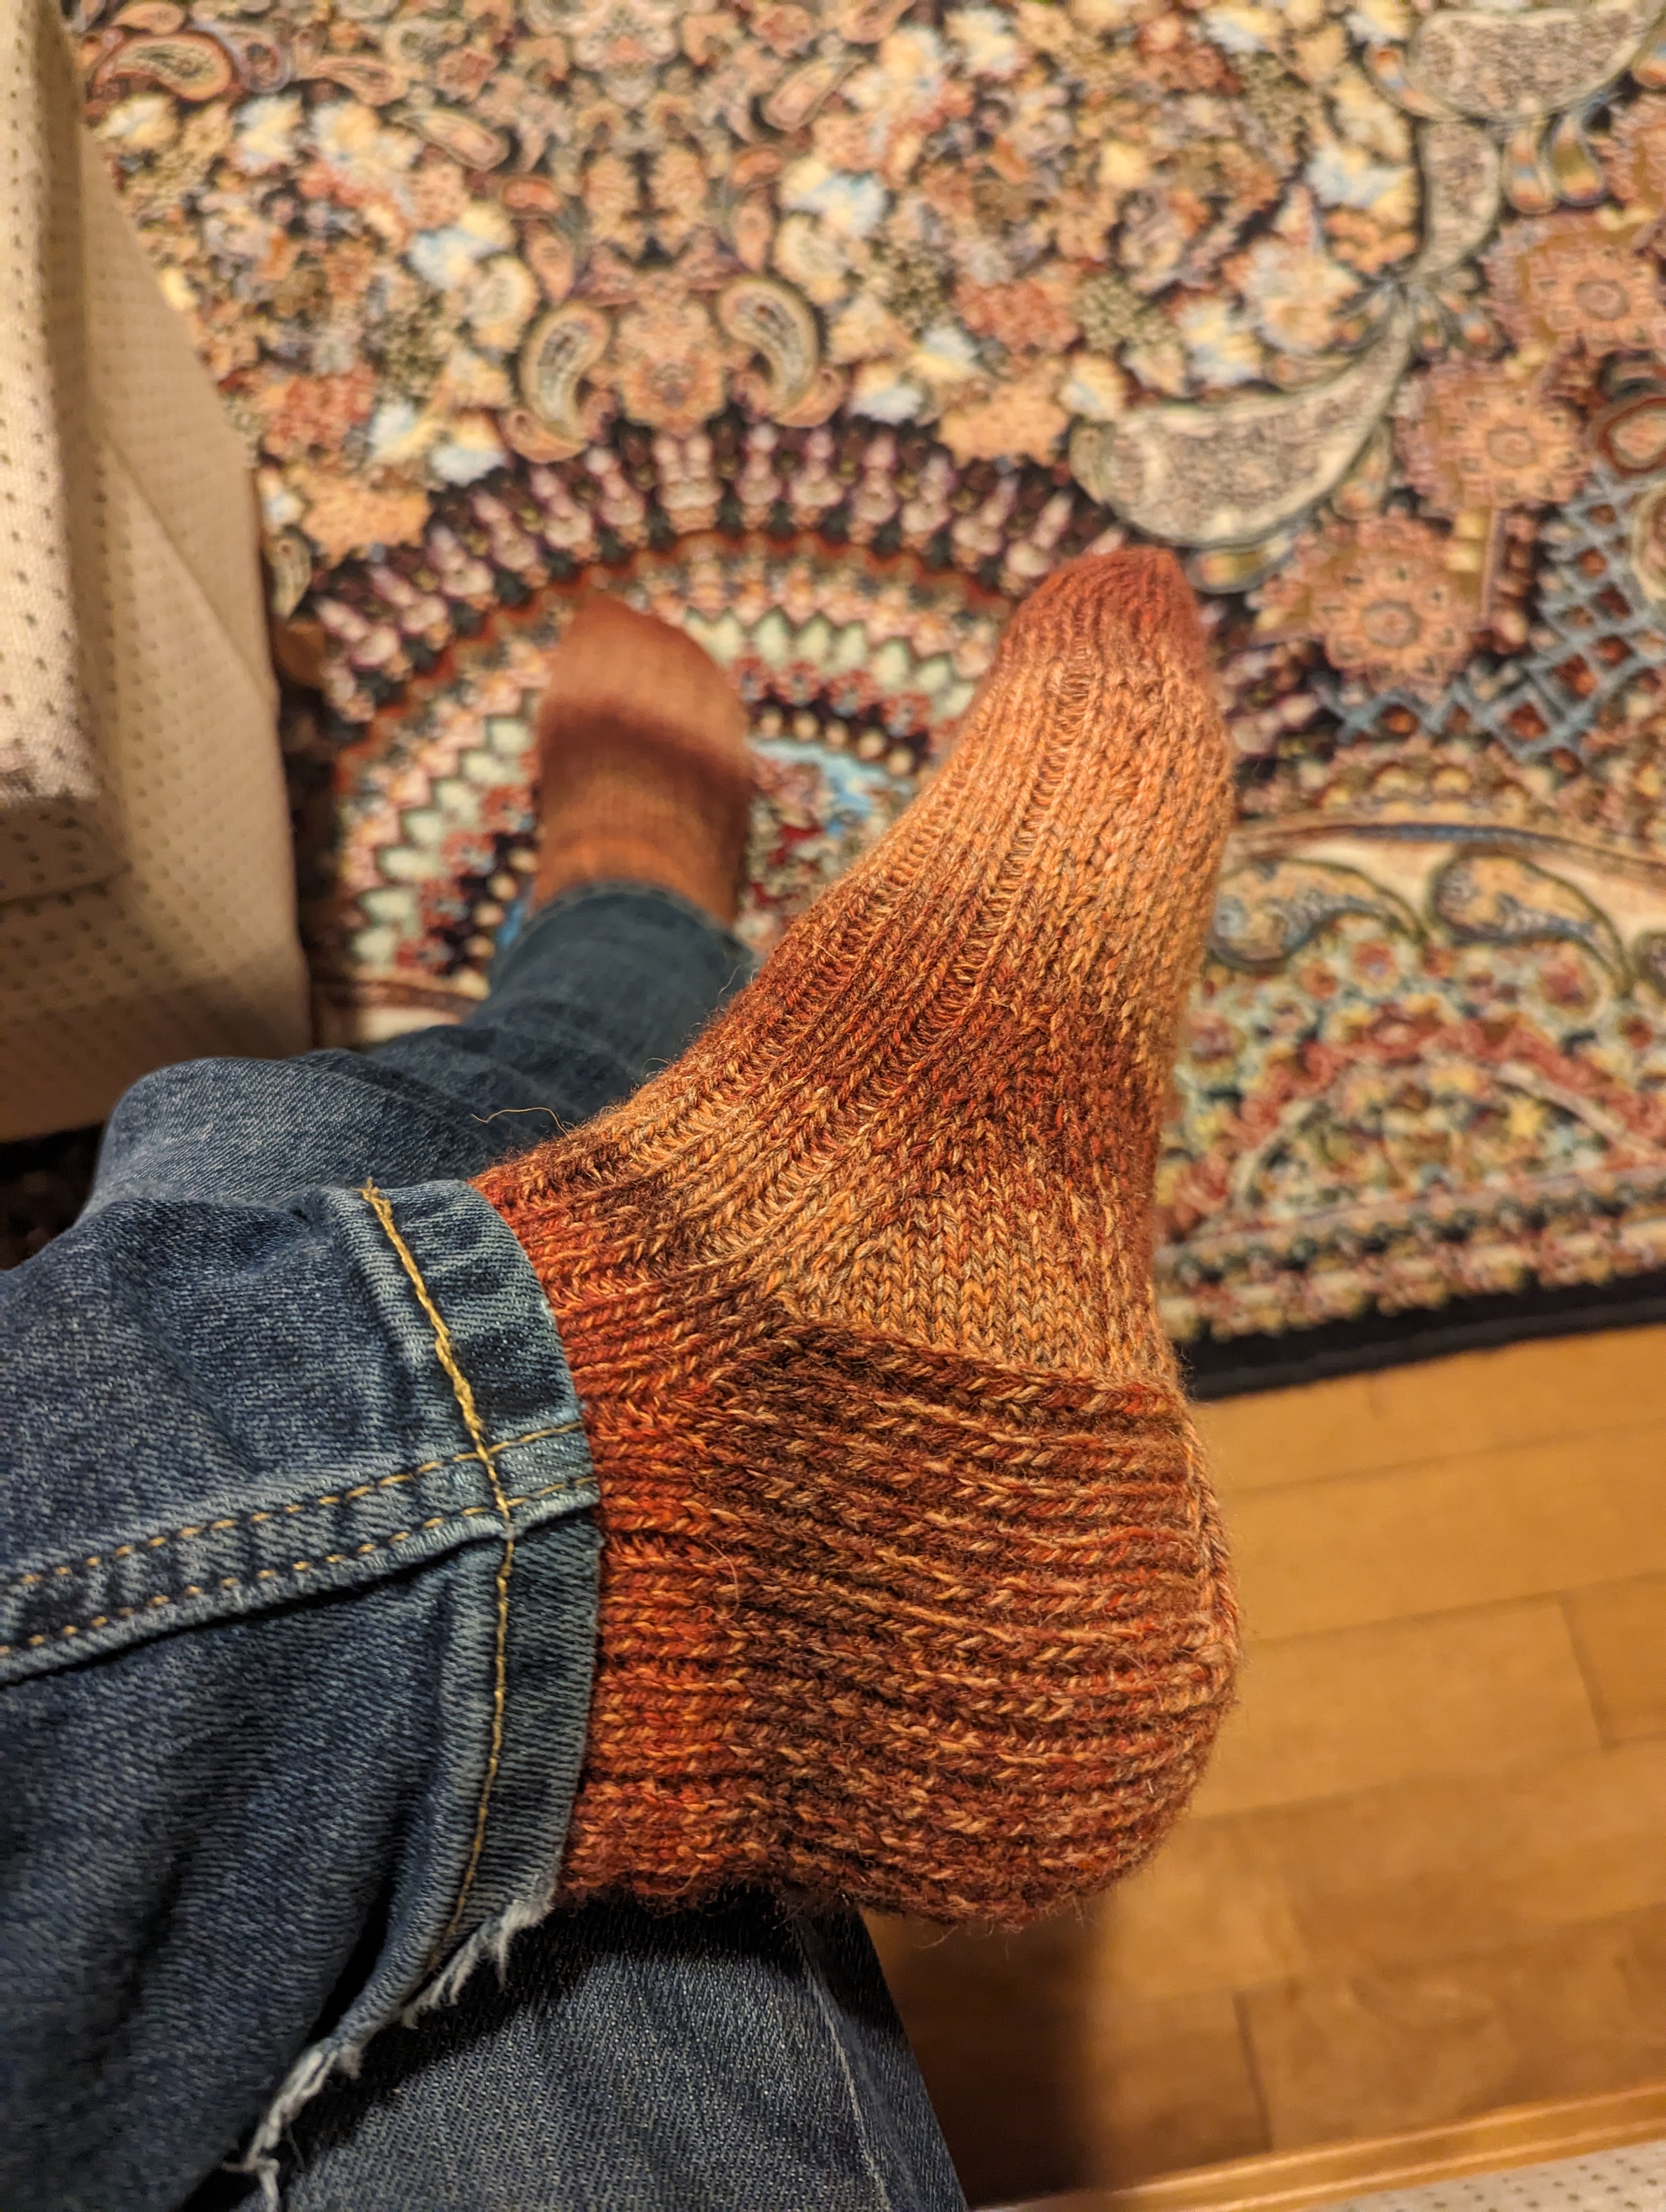
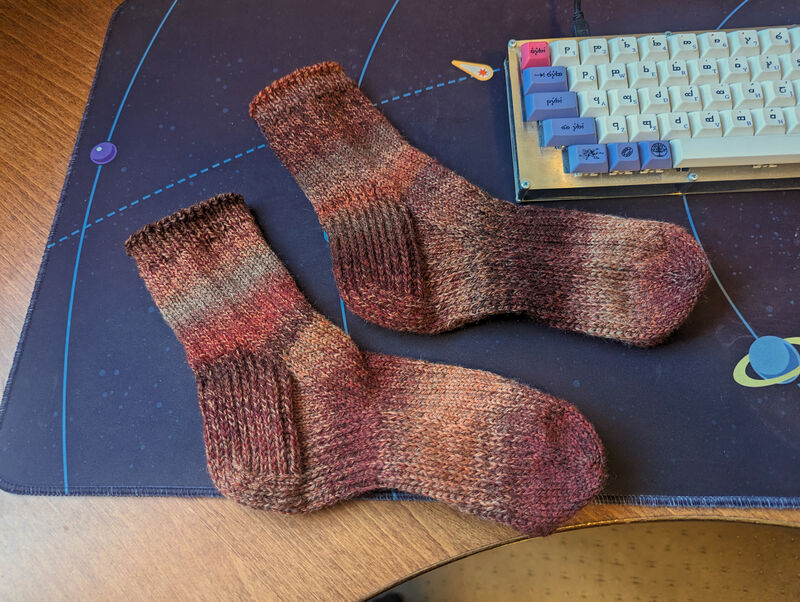
I’ve been wanting to try a reinforced slip stitch bottom for a pair of socks for a while now, and after some experimentation I think I’ve got it! The result is thick and squishy and I hope quite durable.


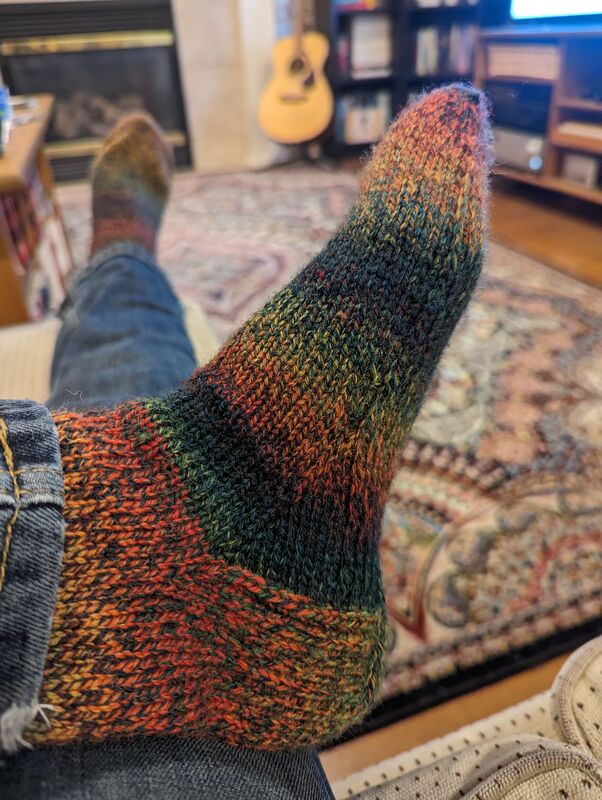
- (https://b-ark.ca/AeiogU)
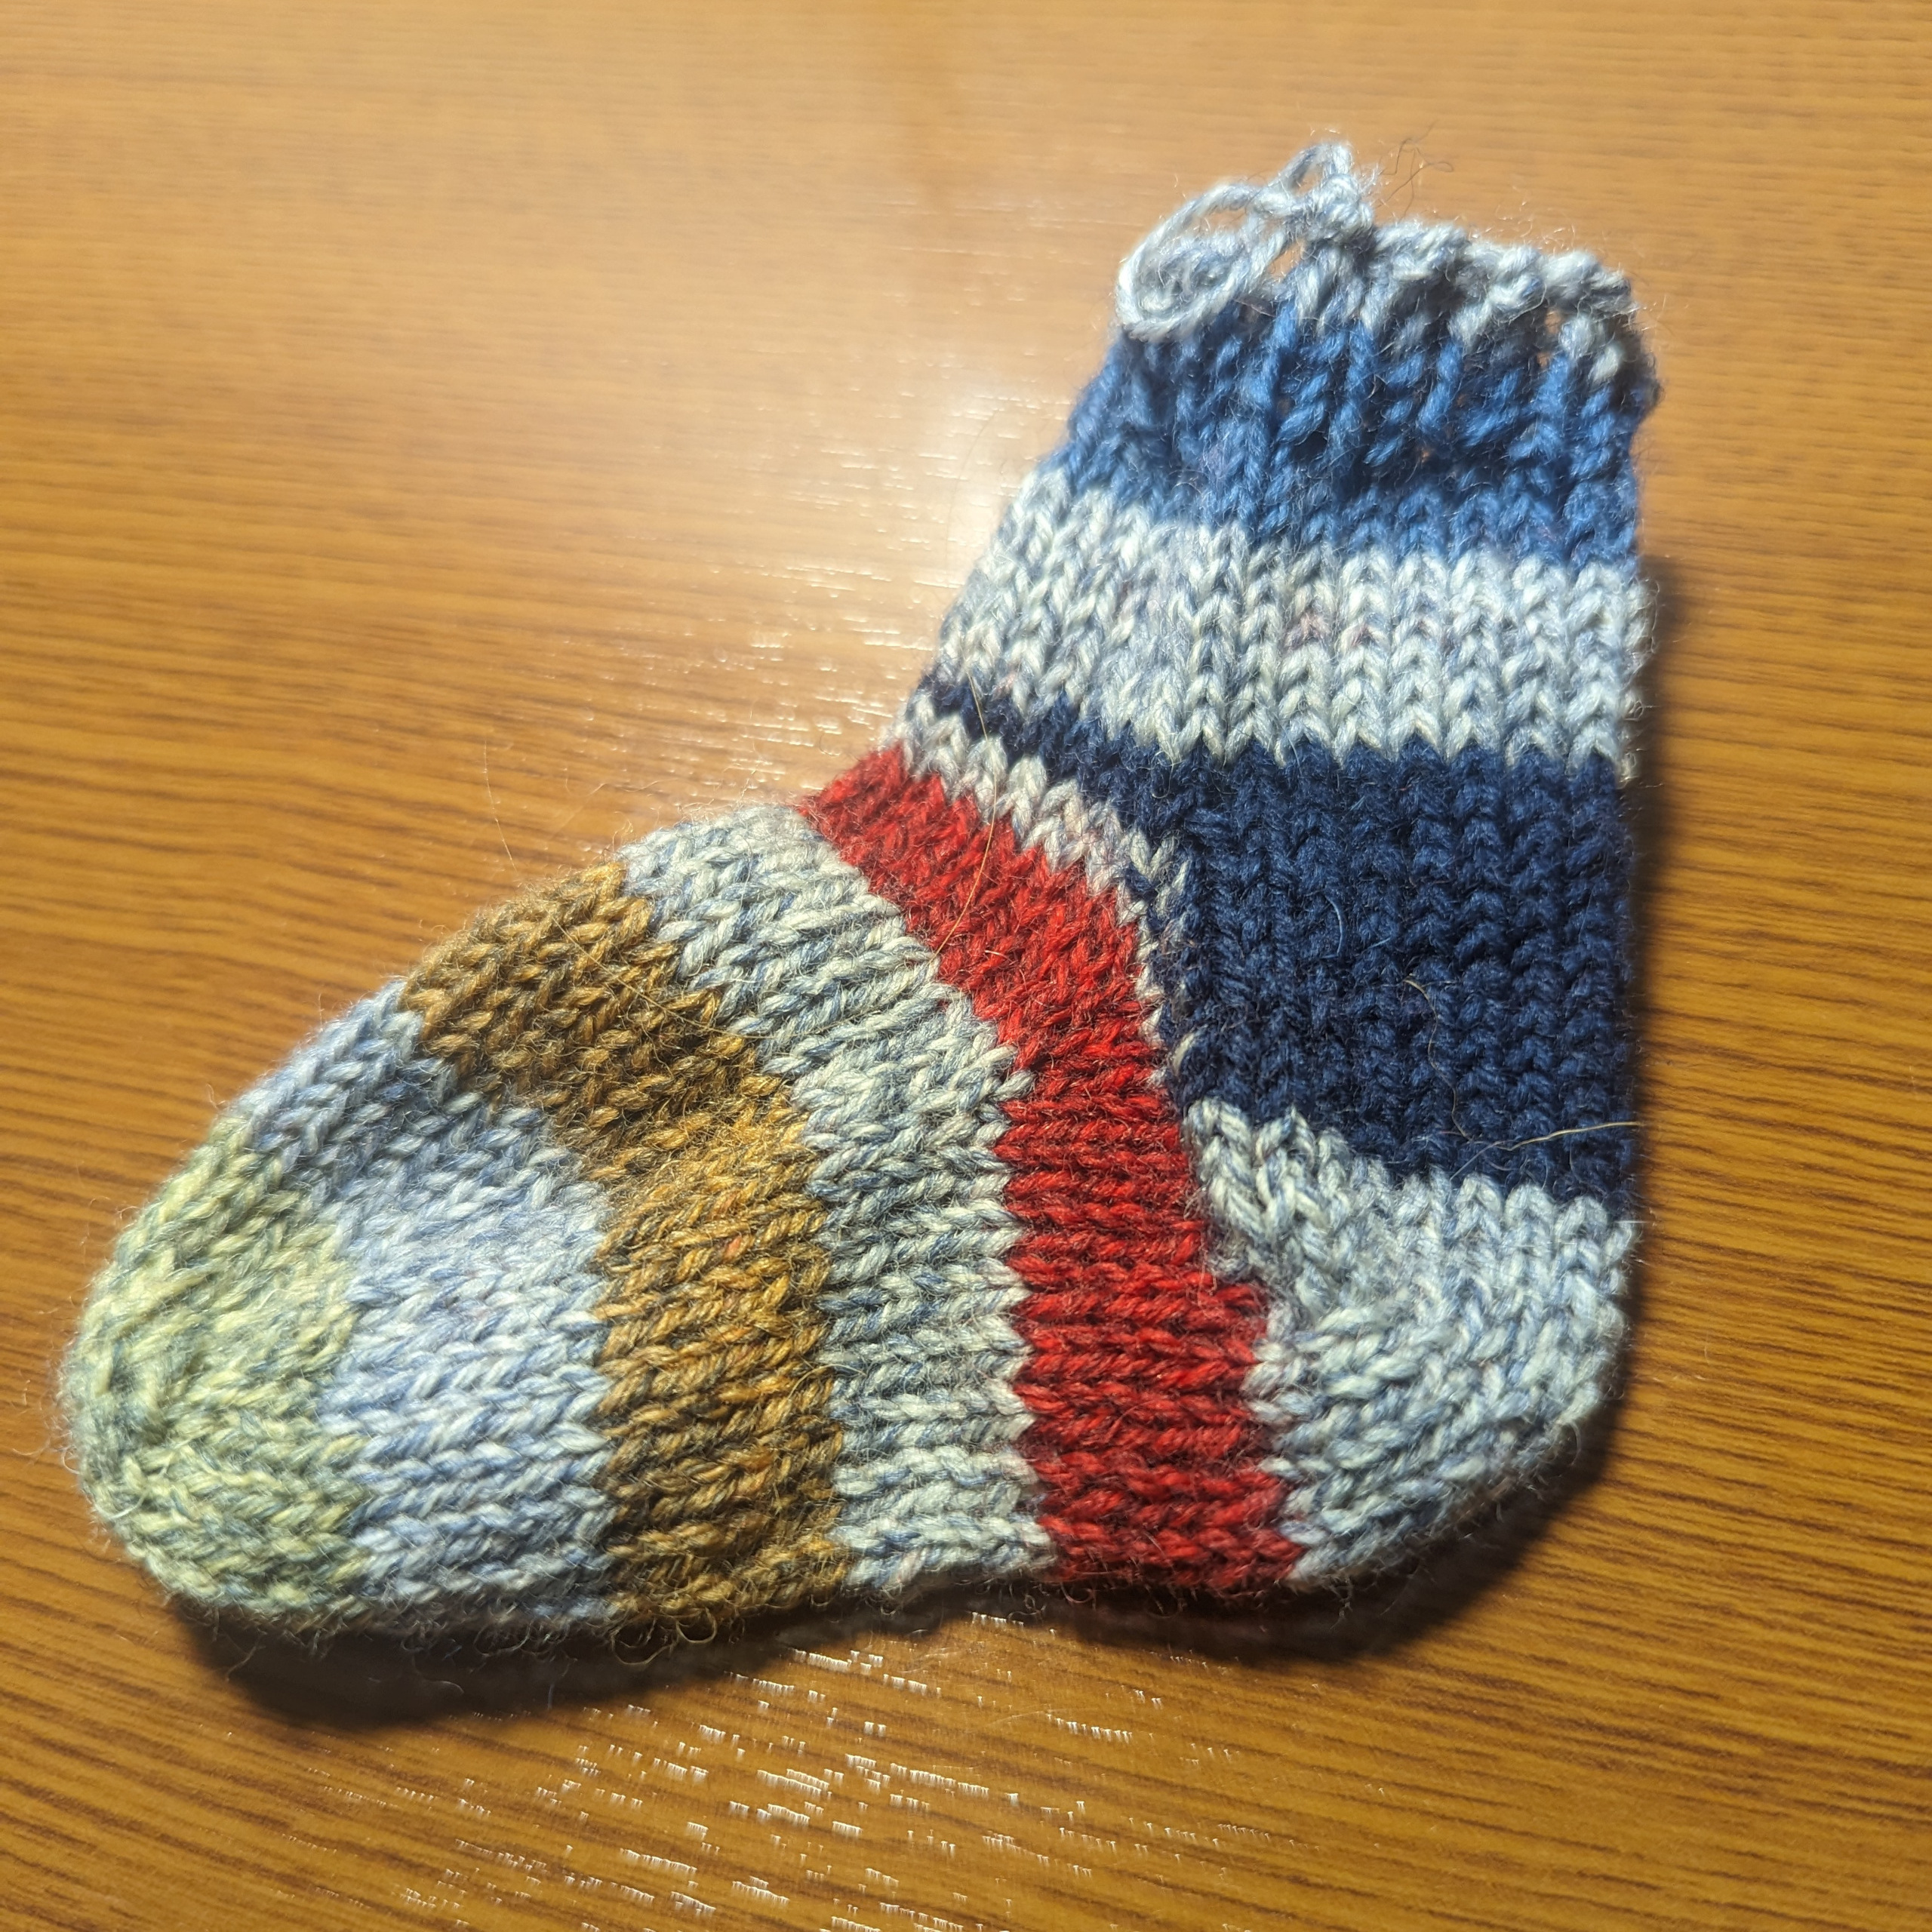
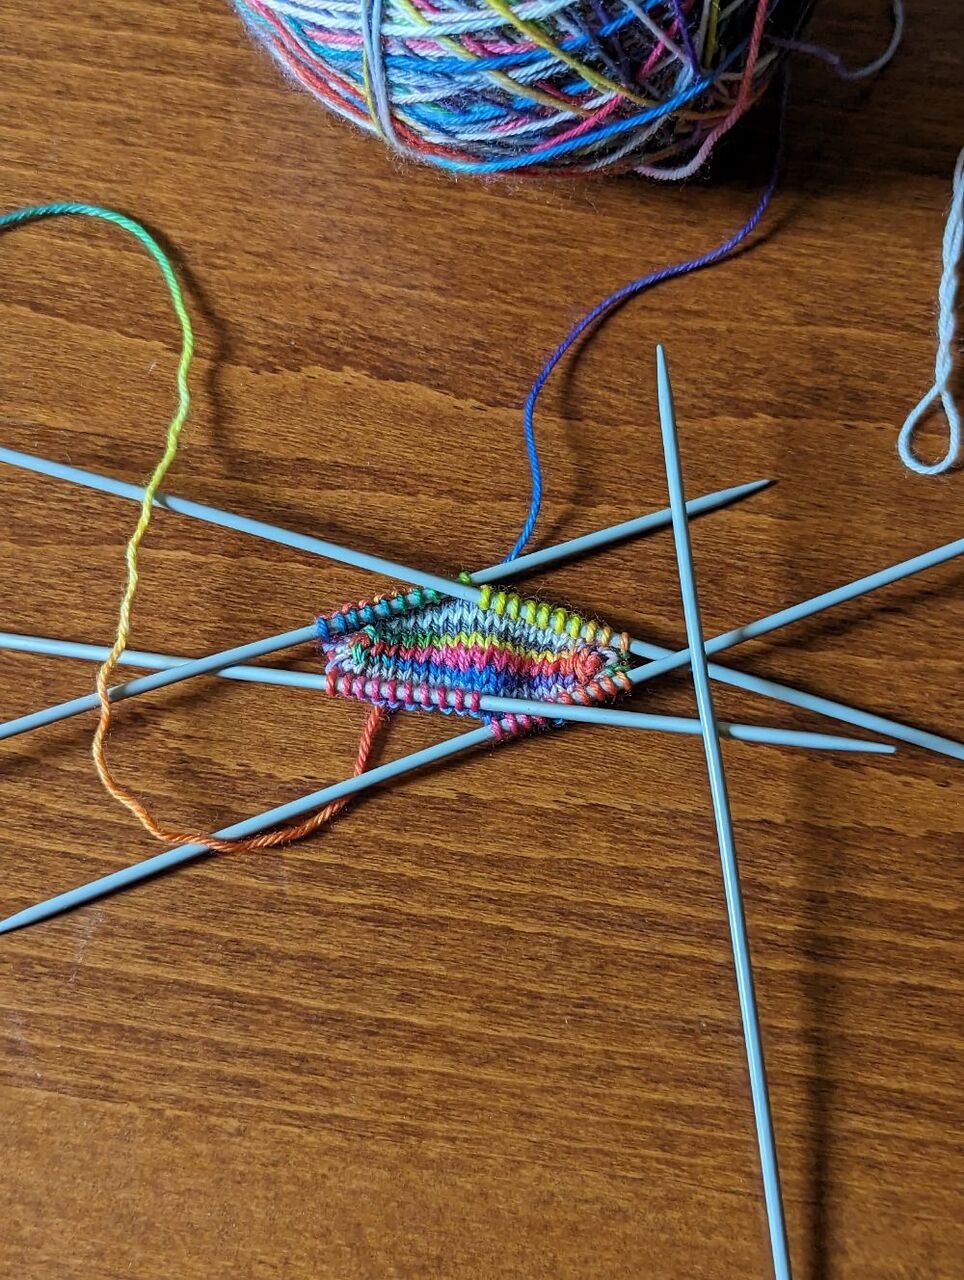
Fun fact: while this may look like a single sock, it is in fact 2.5 socks. See, I finished the toe and foot up to the gusset, changed my mind on the design, ripped it out, started again, finished it, didn’t like the fit, then unravelled it and did it again. But it turned out great! Stay persistent, y’all, and never be afraid to rip a piece apart and start over.
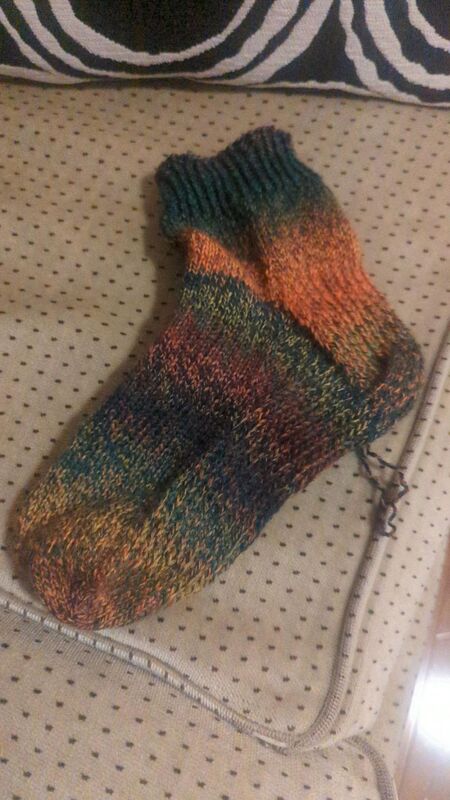
- (https://b-ark.ca/EEgmEg)
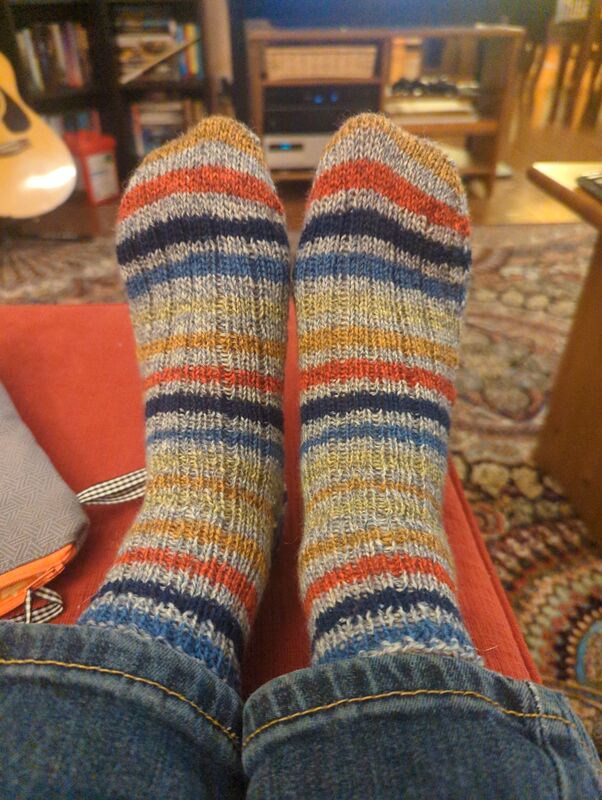
Victory is mine! These socks are my first completed knitting project since the Before Time, and you know what? I still got it.

- (https://b-ark.ca/wgKyIe)
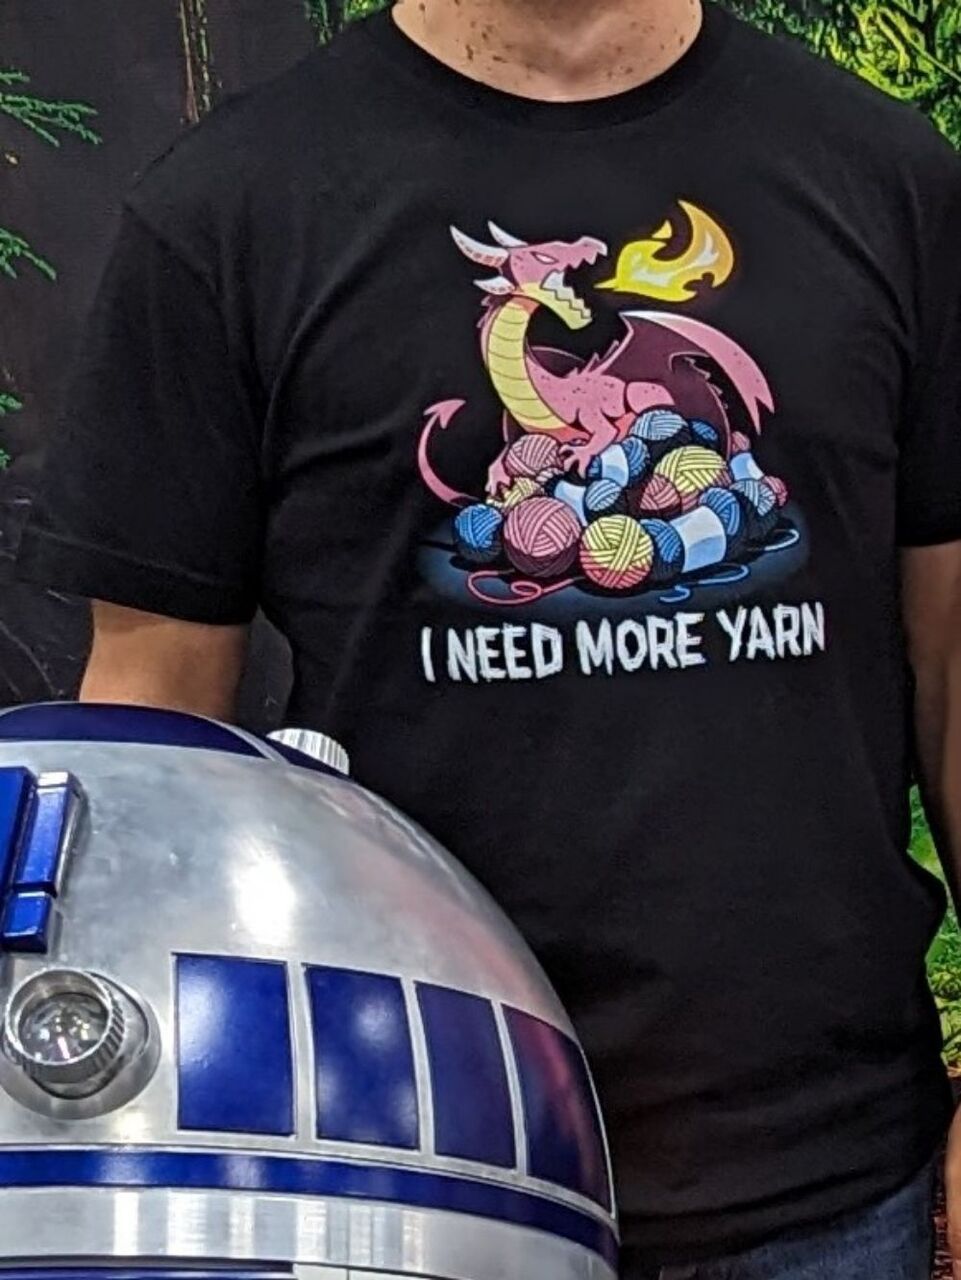
So I went to the #Edmonton Expo this weekend and discovered Tee Turtle was there and selling this shirt. As you can imagine, it spoke to me…
- (https://b-ark.ca/isGAAG)
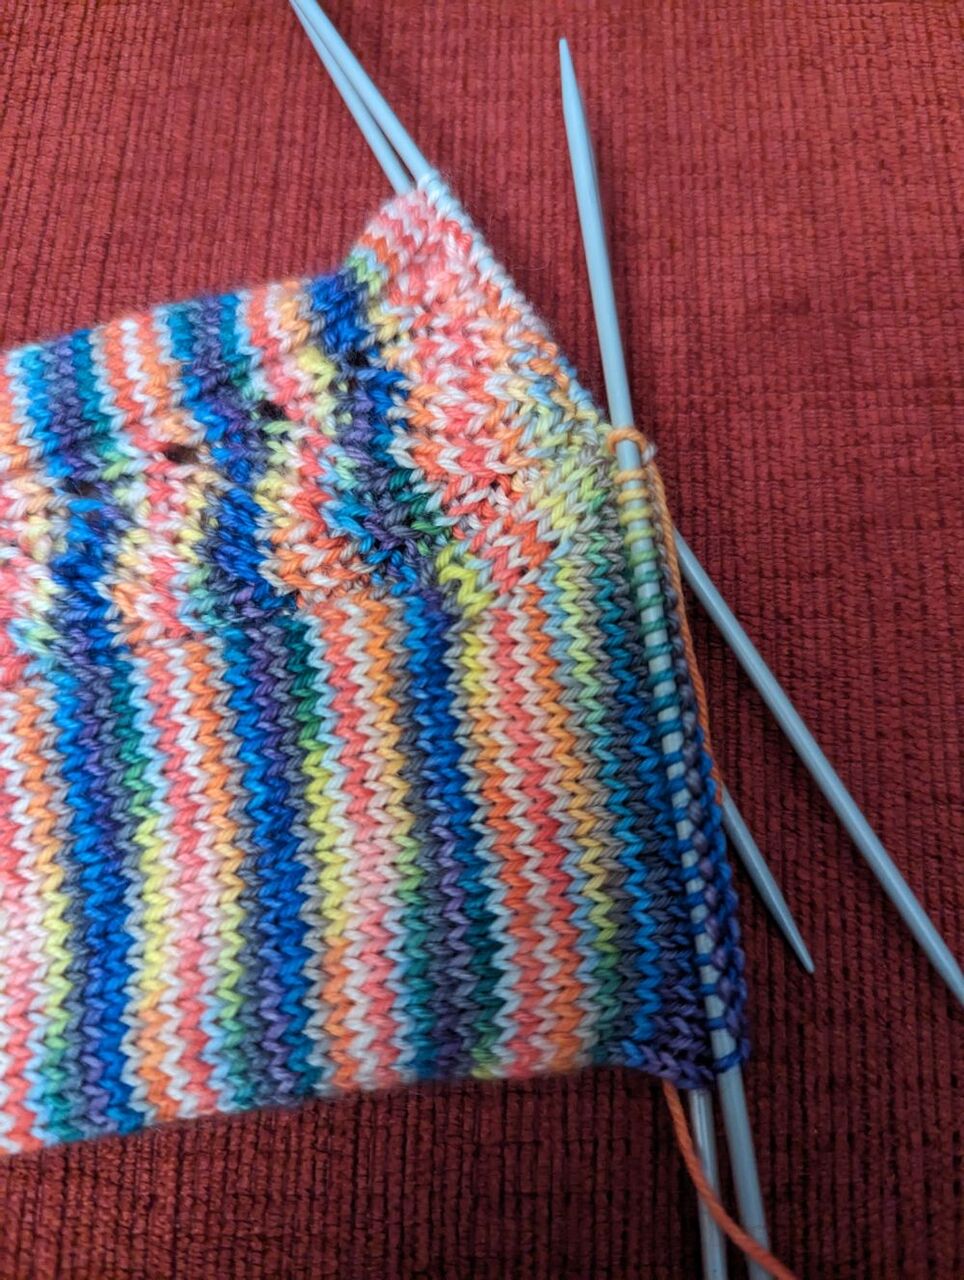
Man, you can tell I’m rusty: It took me three tries and a lot of tinking before I remembered how to knit up a gusset properly…
- (https://b-ark.ca/kIIOUi)
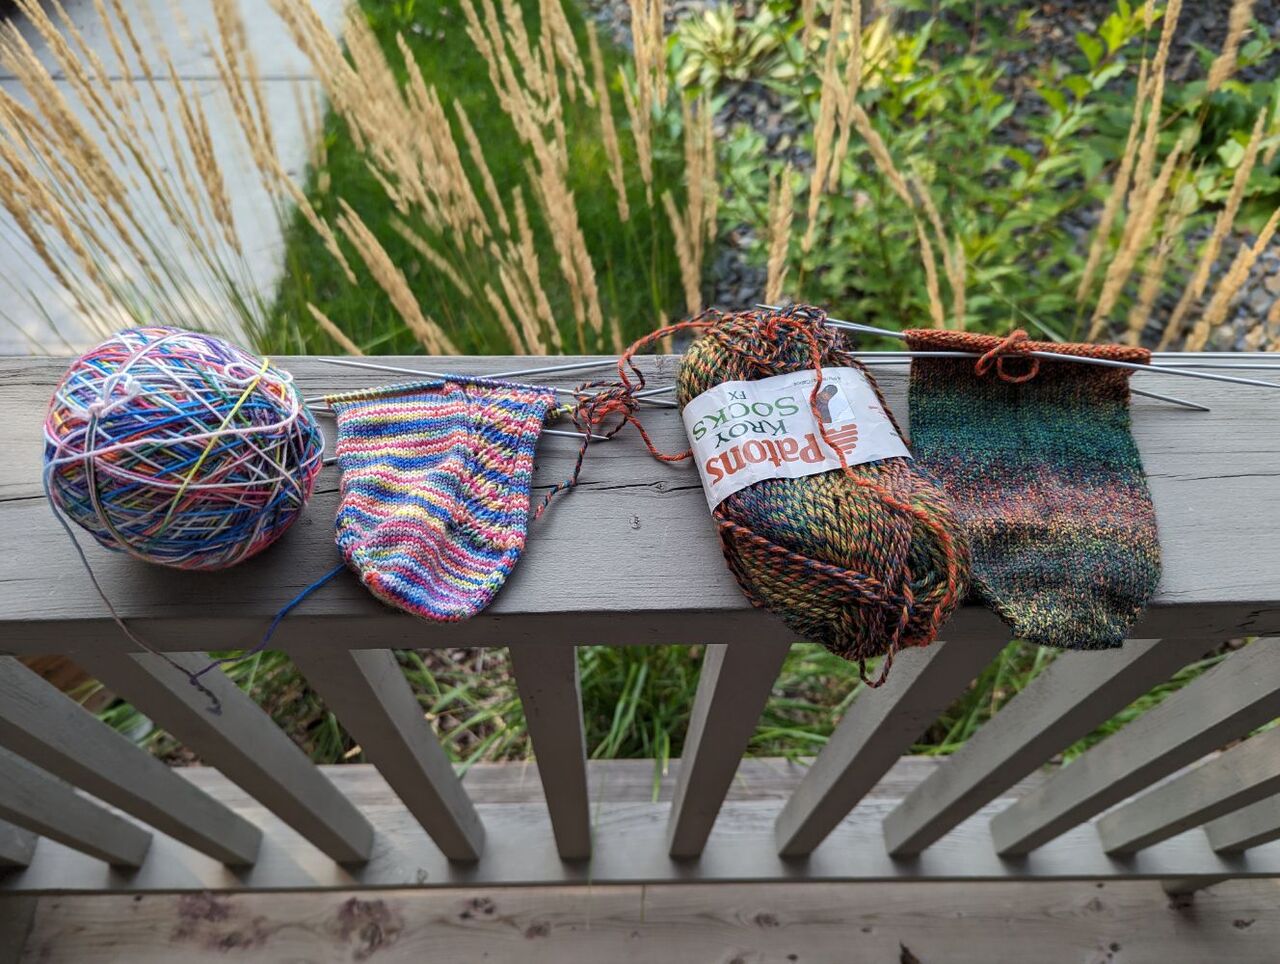
Well, after a lengthy knitting hiatus, with the sabbatical upon me it’s time to get back to it! I’m hoping to get not one but two pairs of socks done for September, the first started recently the second that’s been sitting on needles for… two years…?
My Cup Of Tea Socks (Reversed)
A quick write-up of my process for converting a cuff-down sock pattern to toe-up as part of my most recent project.
I absolutely love making socks. As a project, they’re relatively quick, by now very familiar, a small canvas for a bit of experimentation, and in the end, always useful. After all, who doesn’t need another pair of socks?
Unfortunately, that’s also caused me to amass quite the collection of sock yarn over the years. In fact, I spent a good part of 2019 making sock after sock after sock thanks to our indulging in a Michael’s Boxing Day sale back at the start of last year.
But, I’ll be the first to admit, the stash has been building up for a long time, now.
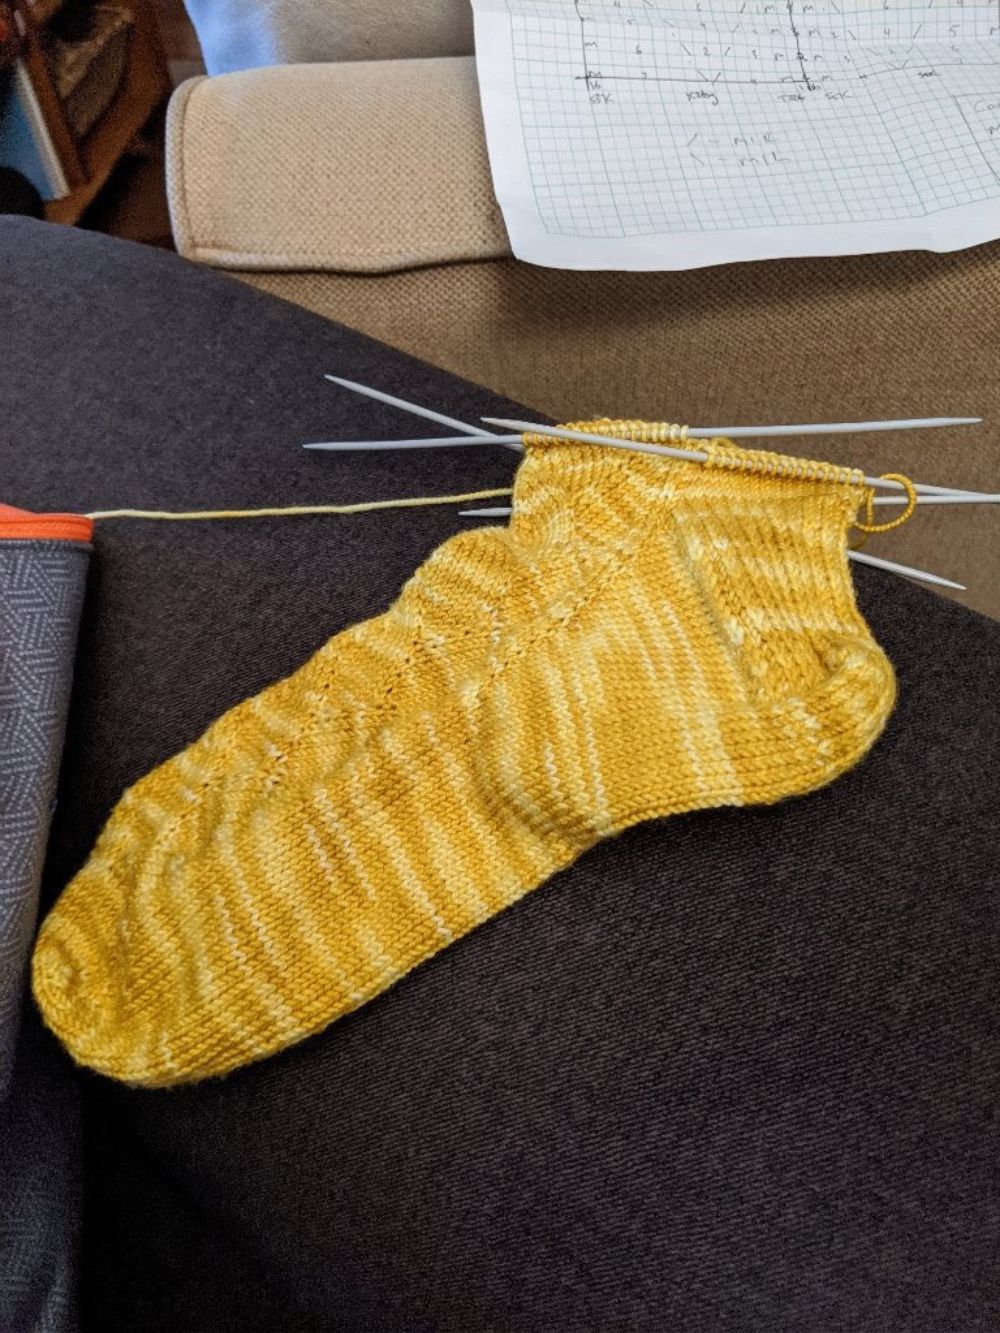
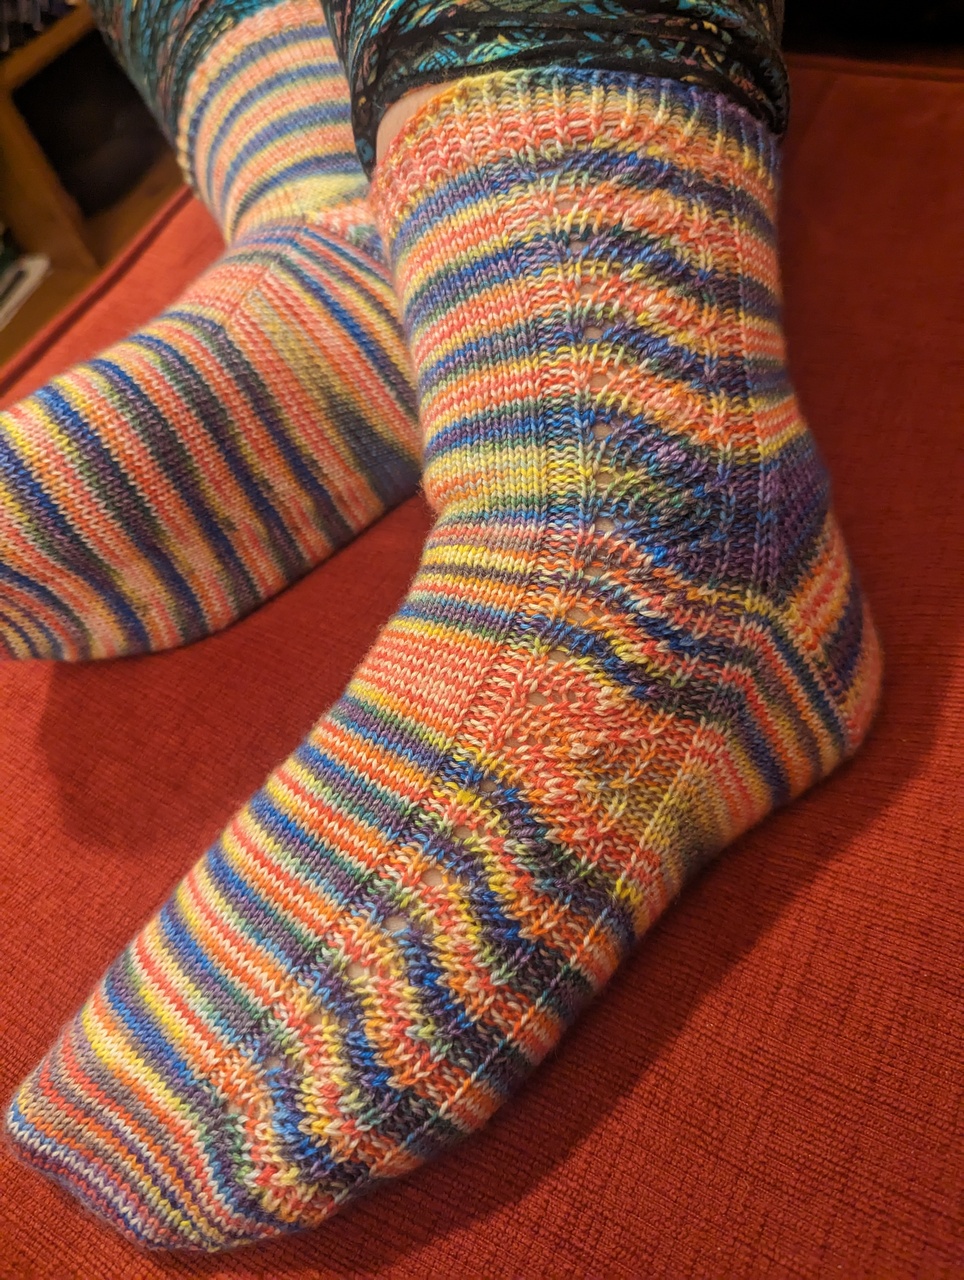
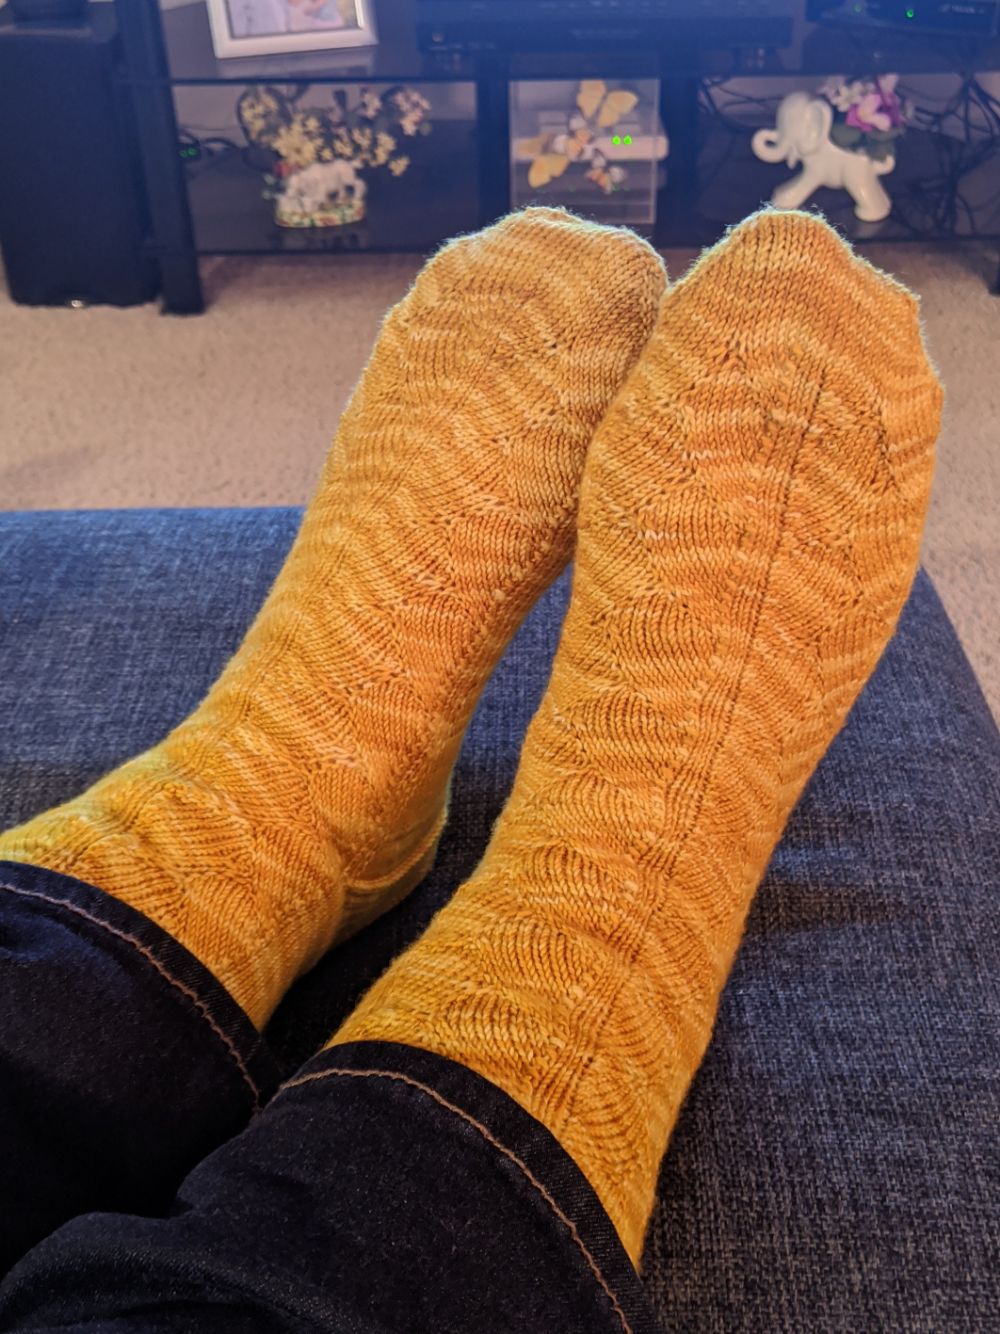
As a result, the yarn that I used in this project–a lovely, variegated yellow yarn who’s label I’ve apparently lost–has been sitting in my collection for a couple of years now, having been pushed down the queue by more recent acquisitions. However, I finally decided to do something with it!
Now, as a toe-up sock knitter, it’s always a bit trickier to find patterns, and so I’ve often settled for coming up with my own designs. However, this time, I decided to try my hand at converting an existing cuff-down pattern to toe-up.
These socks are based off of the My Cup of Tea Socks pattern (hosted on Ravelry), which I then altered, both to convert the pattern to toe-up, and to make the motif a bit larger.
Continue reading...- (https://b-ark.ca/iYakcY)
A little custom cable design that created a sock that’s just a tad too small…
- (https://b-ark.ca/A2yaQQ)
Another pair down! This yarn had been in my stash for a couple of years now, so it’s nice to get them done. Post to come with details, including how I converted this cuff down pattern to toe up.

- (https://b-ark.ca/OUKkUS)
That moment when you realize you apparently knit too fast because you overshot the length of the sock you’re working on and now you need to tink a bunch of rows…
- (https://b-ark.ca/SSi_SS)
Well, yet another long blogging hiatus. So what’s so important that I would take the time to author yet another scintillating installment? Why, a knitting project, of course!

- (https://b-ark.ca/AYgsAs)
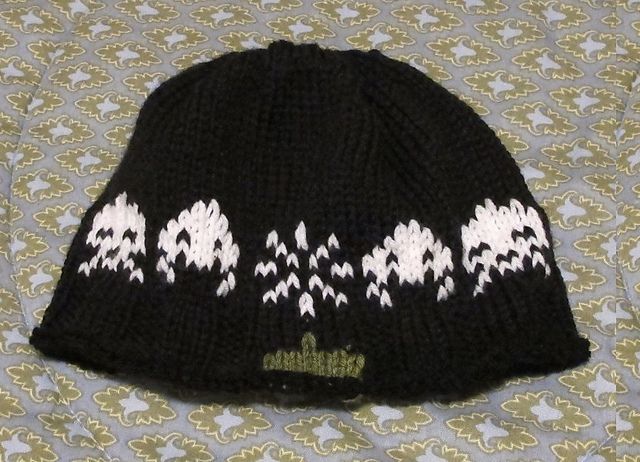
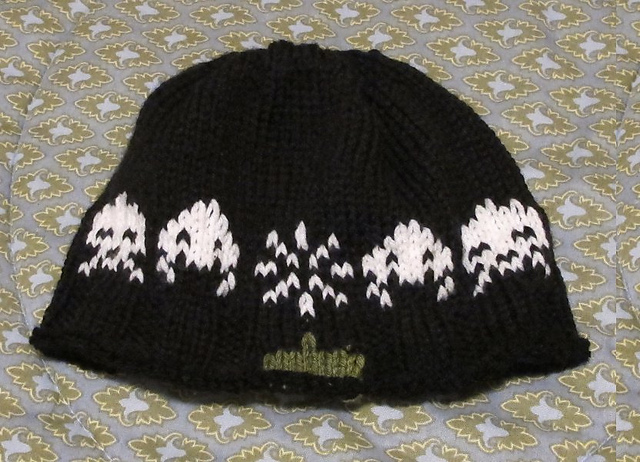
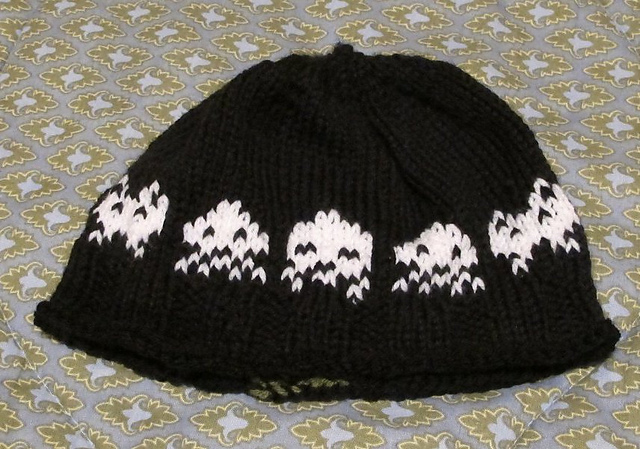
A little something for the Movember fundraising drive, this is a custom design that I came up with by taking the game graphics and converting them to a pattern.
- (https://b-ark.ca/CSuakk)
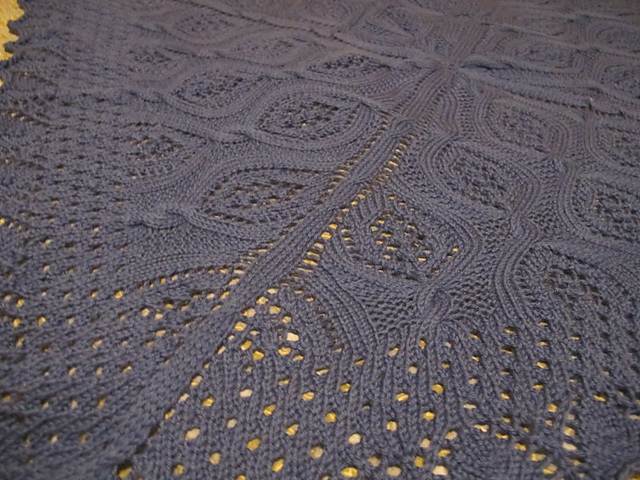
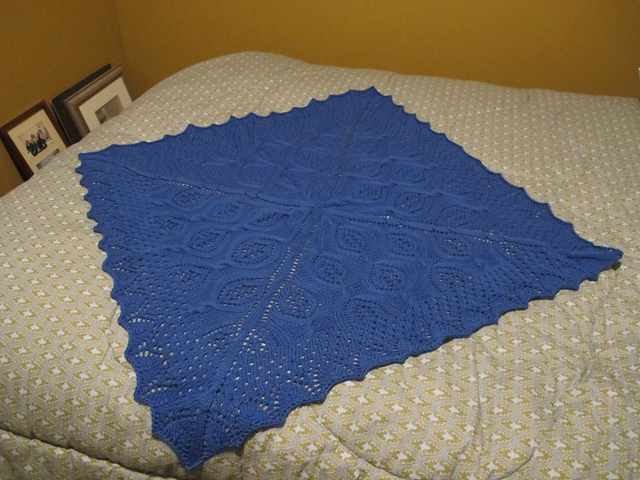
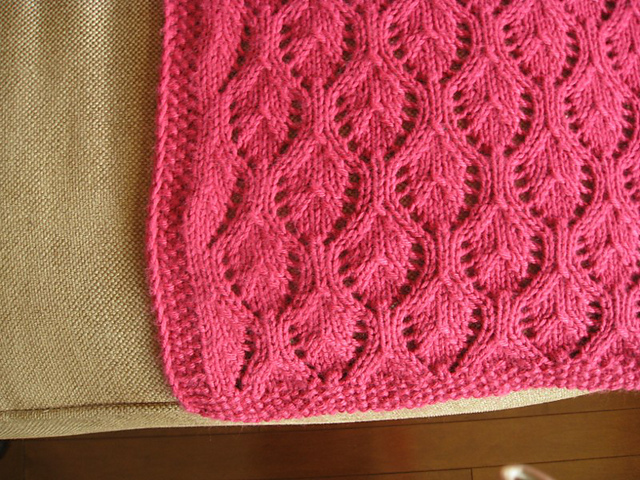
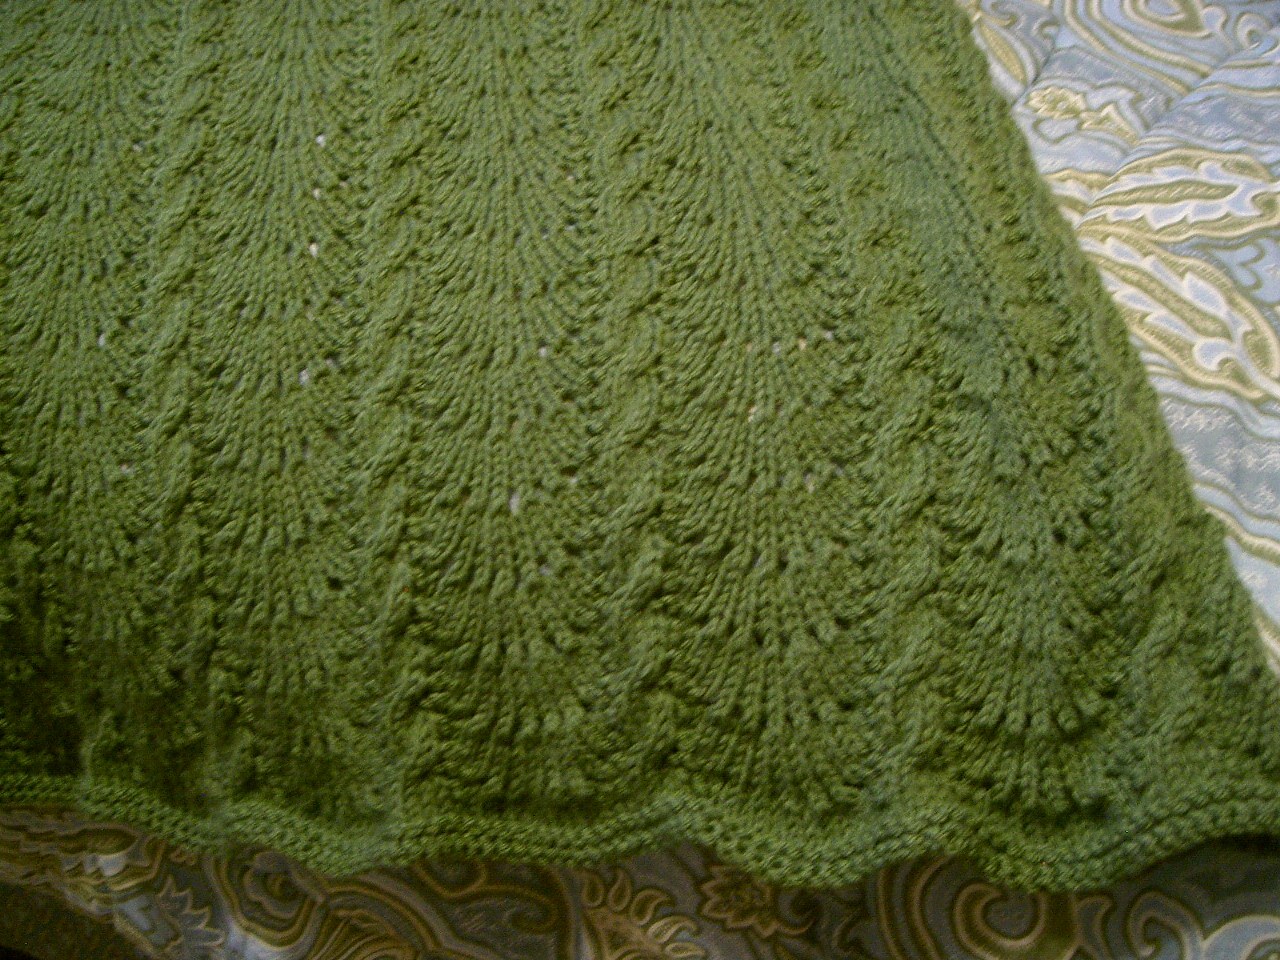
Lovely open-work baby blanket I did in the round. I believe this is the first piece I’ve done in this style and it turned out great!

- (https://b-ark.ca/ias_eG)
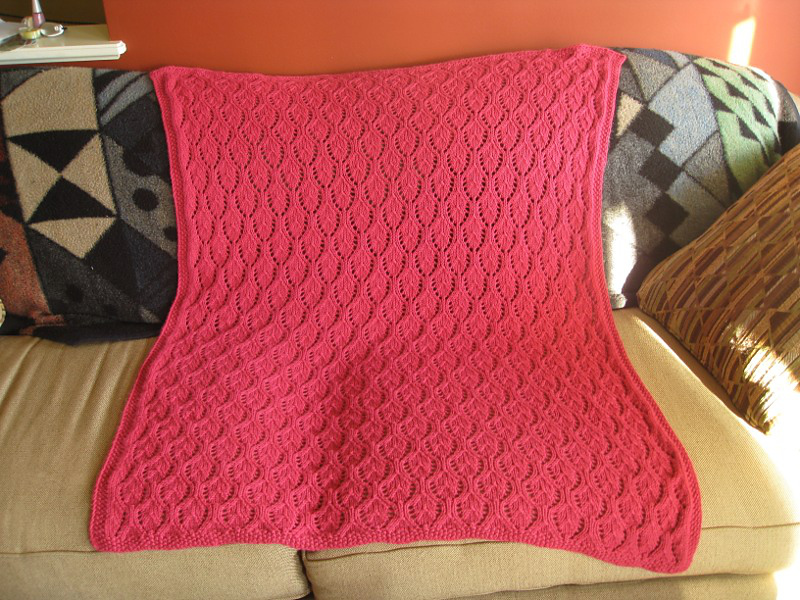
A piece for the first arrival of a friend and colleague. The yarn colour in this piece is fantastic and the pattern knitted up beautifully!

- (https://b-ark.ca/eEwKg8)
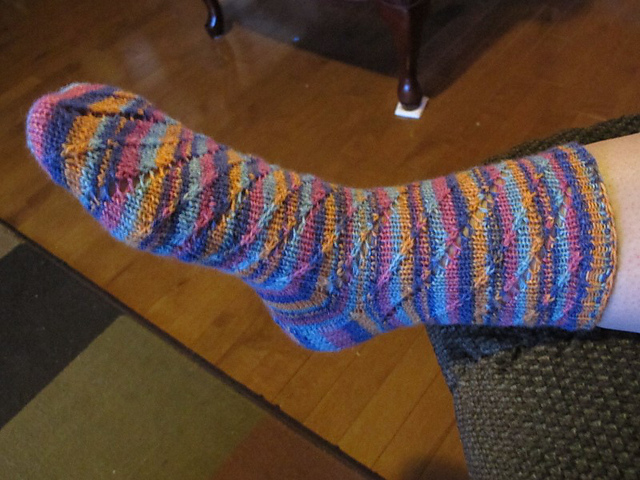
One of my earlier custom designs, this pattern uses basic twisted stitches and eyelets to create a fun little spiral pattern.

- (https://b-ark.ca/_gO604)
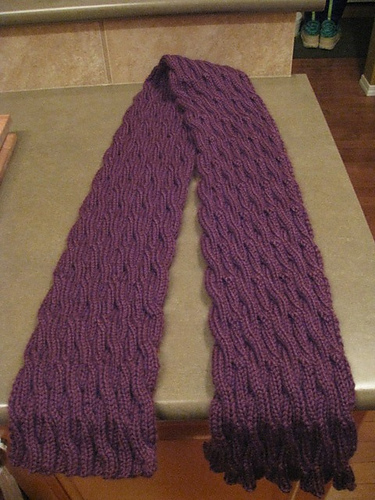
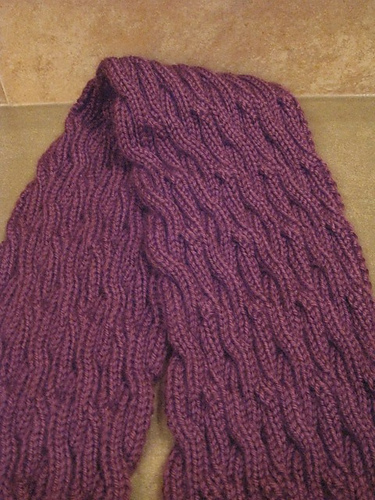
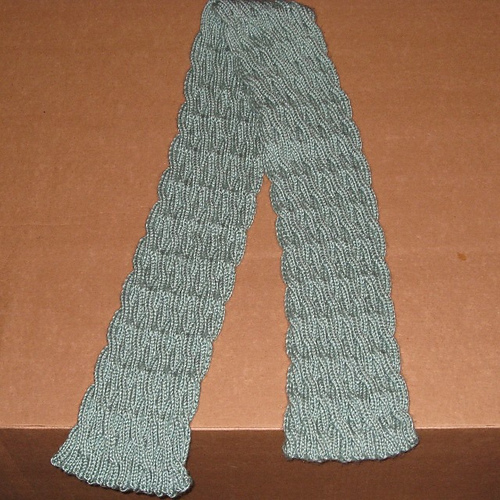
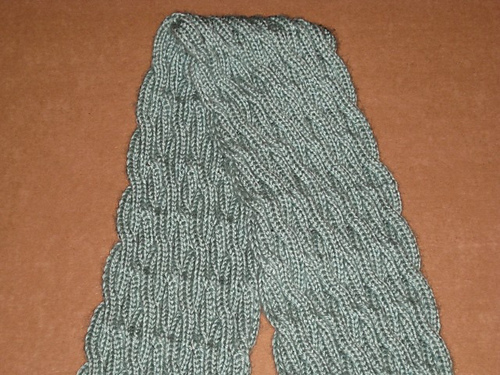
Yet another crack at this cable scarf pattern, it knits up thick and chunky and really shows off the shine of this yarn.
- (https://b-ark.ca/6EuYye)
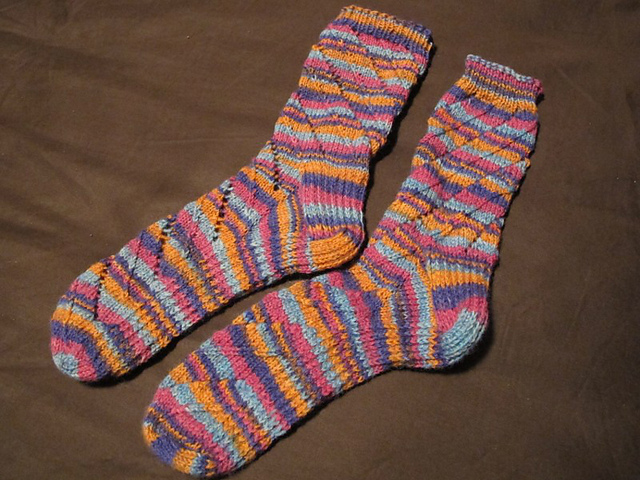
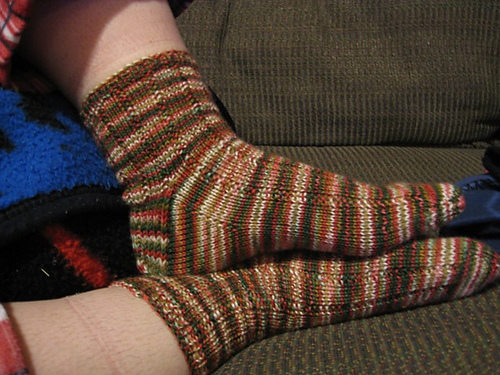
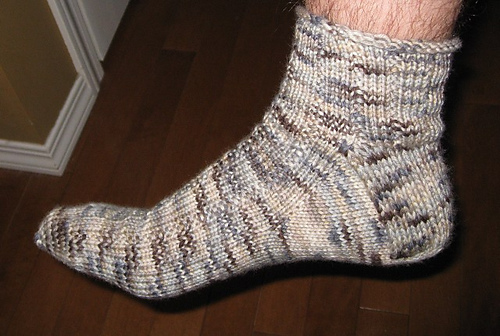
Yet another early sock attempt, this is one of those early pairs that taught me never to use straight merino for socks…

- (https://b-ark.ca/ueAGMm)
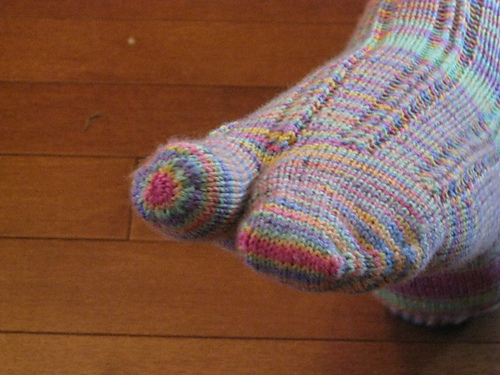
This is a bit of an experiment, altering a traditional toe-up toe to create a separate space for the big toe. And it worked out alright!
- (https://b-ark.ca/MQg0UW)
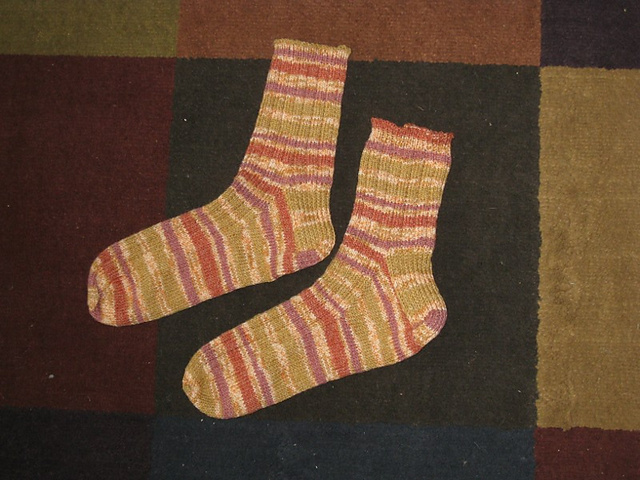
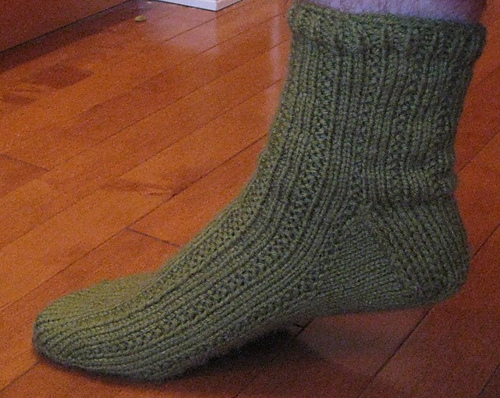
Another crack at this pattern and one of my earlier sock attempts as I got the hang of things.
- (https://b-ark.ca/aQ4__K)
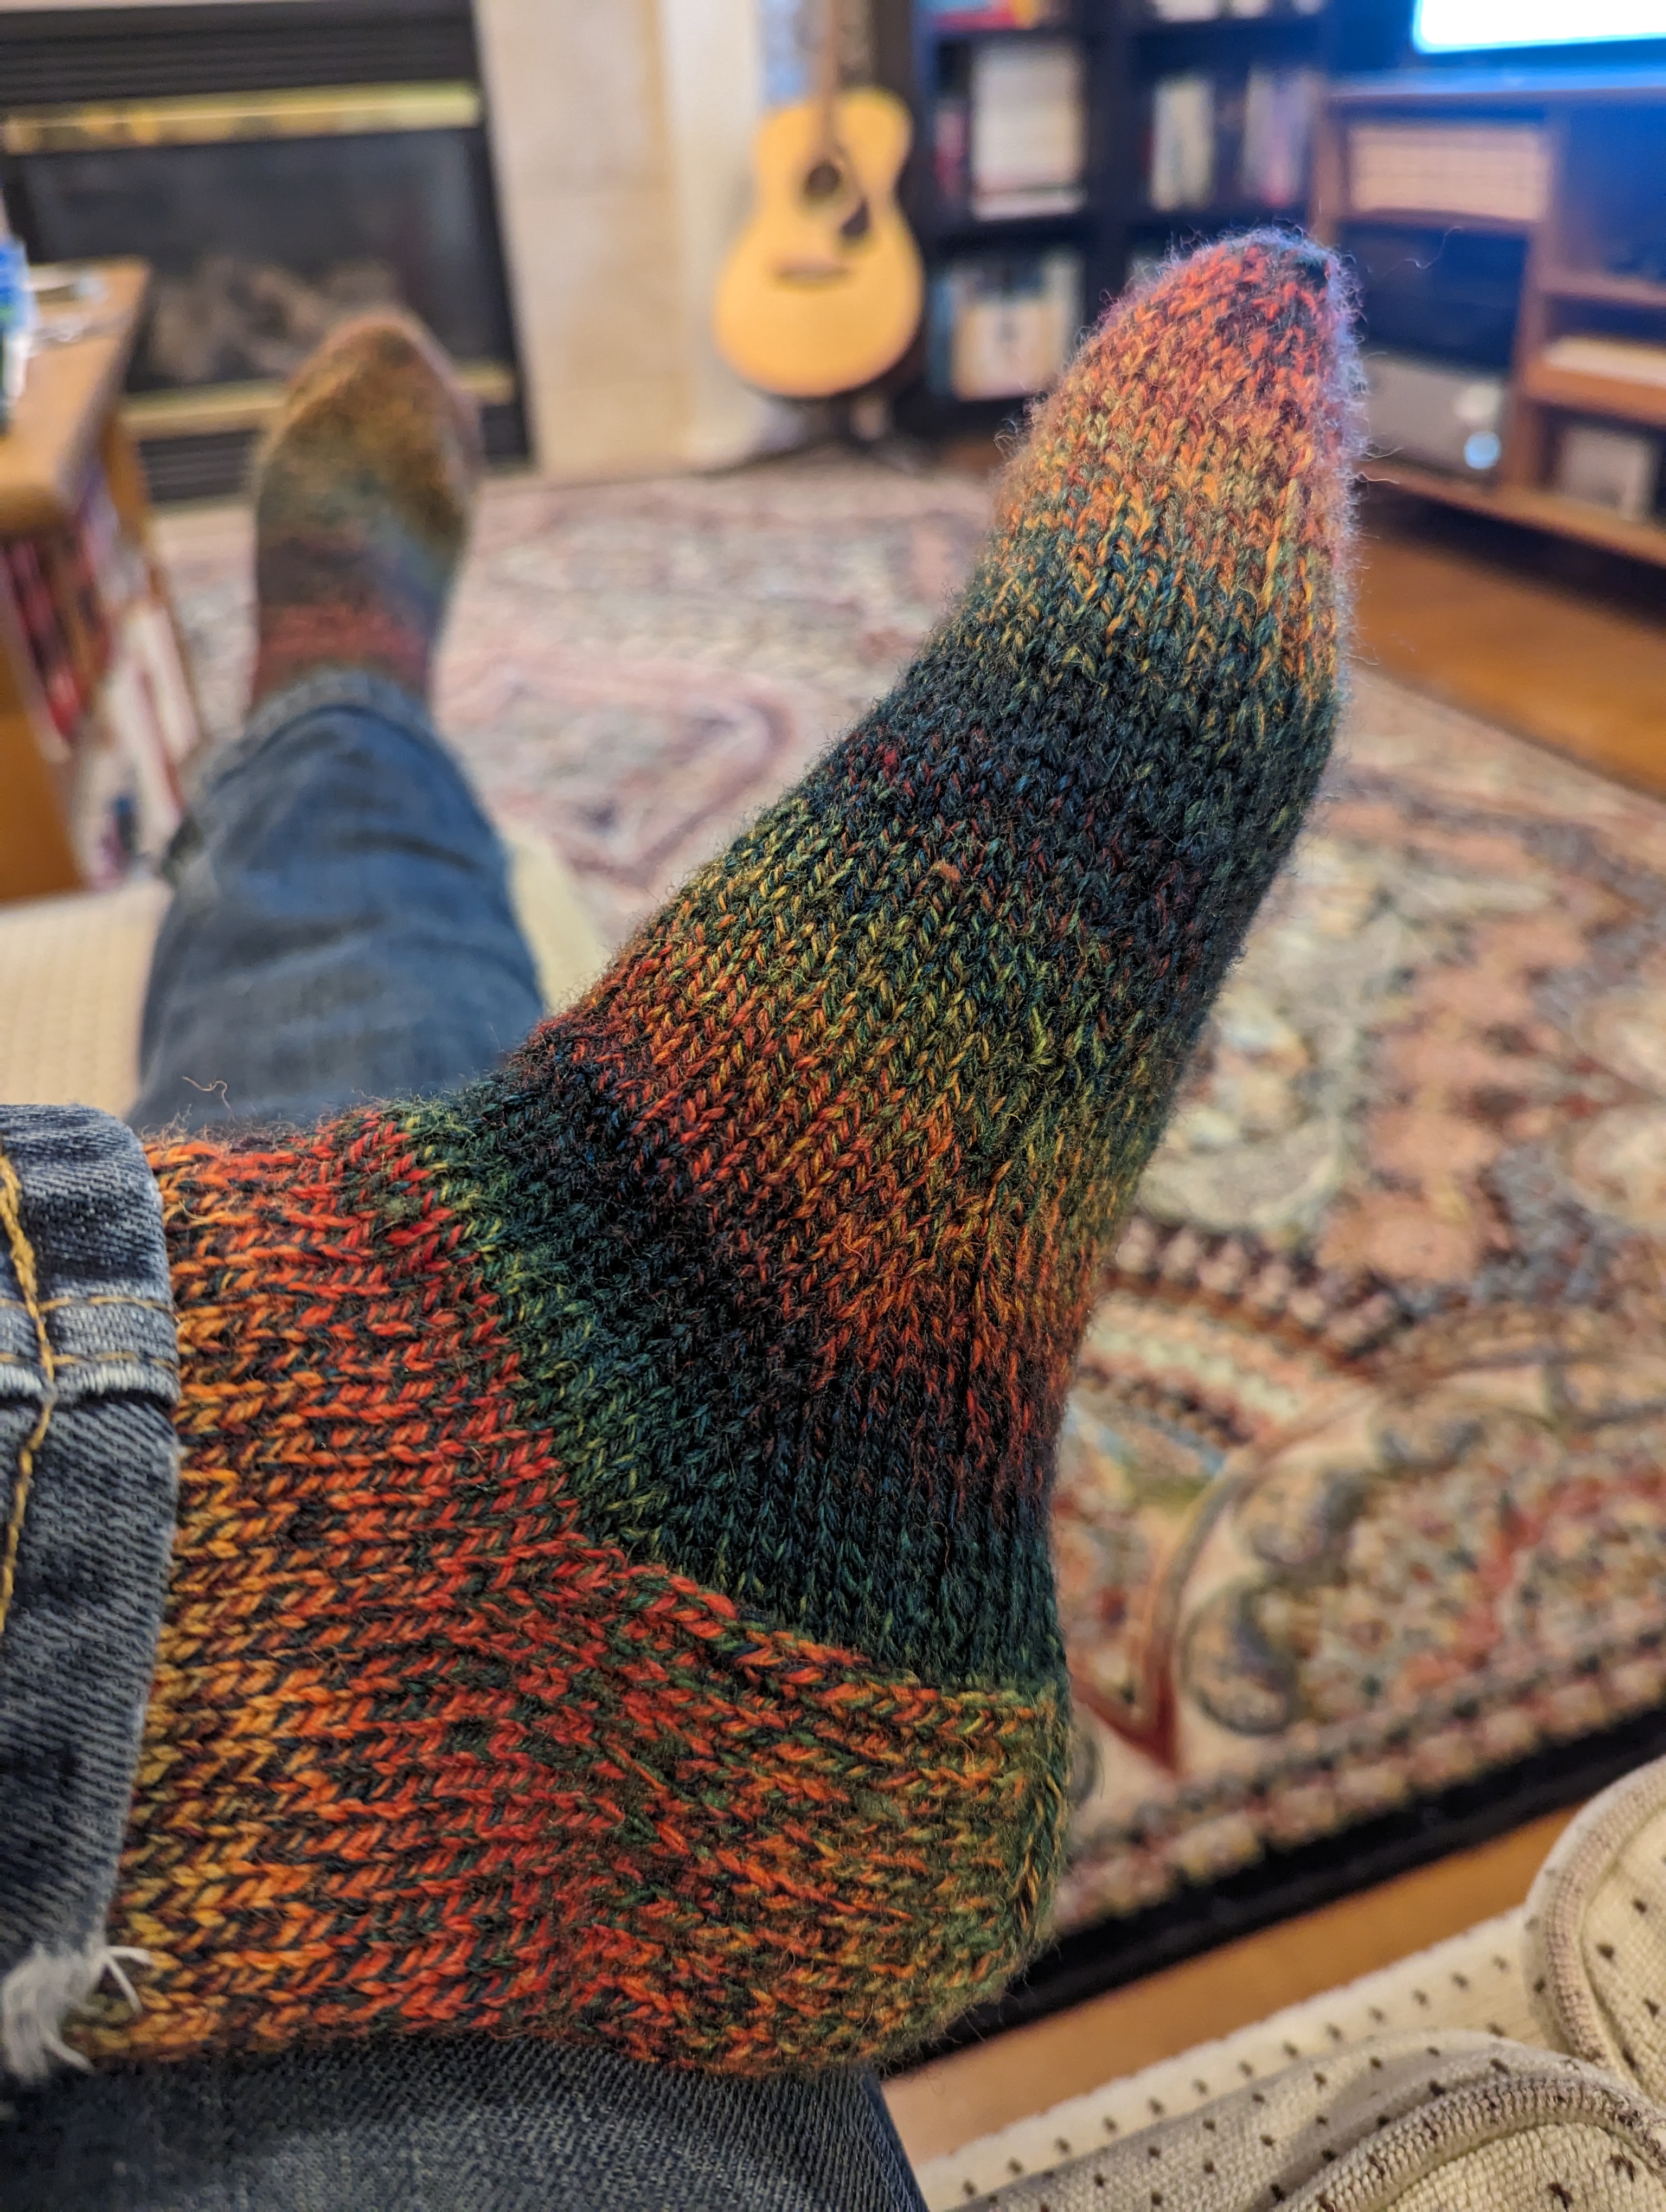
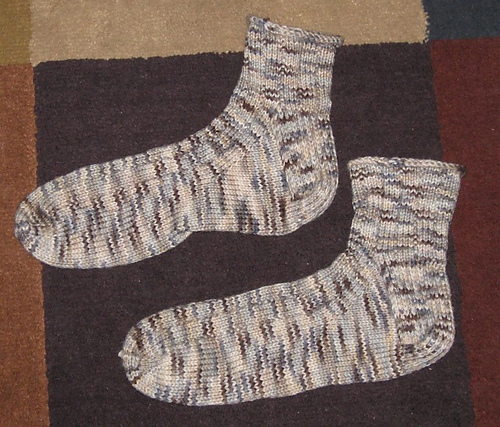
Using Thuja with some gifted Raven Frog yarn, this time Alder Bark, to knit up another pair of warm, comfy, and very fragile socks…
- (https://b-ark.ca/4egkaI)
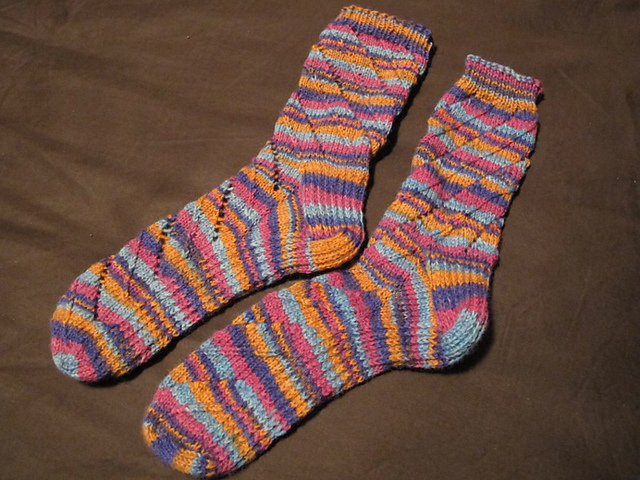
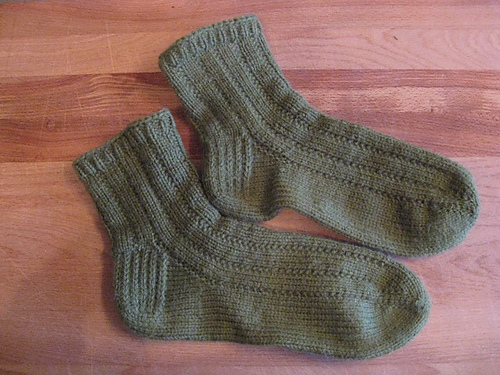
It’s been a while, but I assume this is my first pair of socks after previously trying and failing to make socks…
- (https://b-ark.ca/4QsEuE)
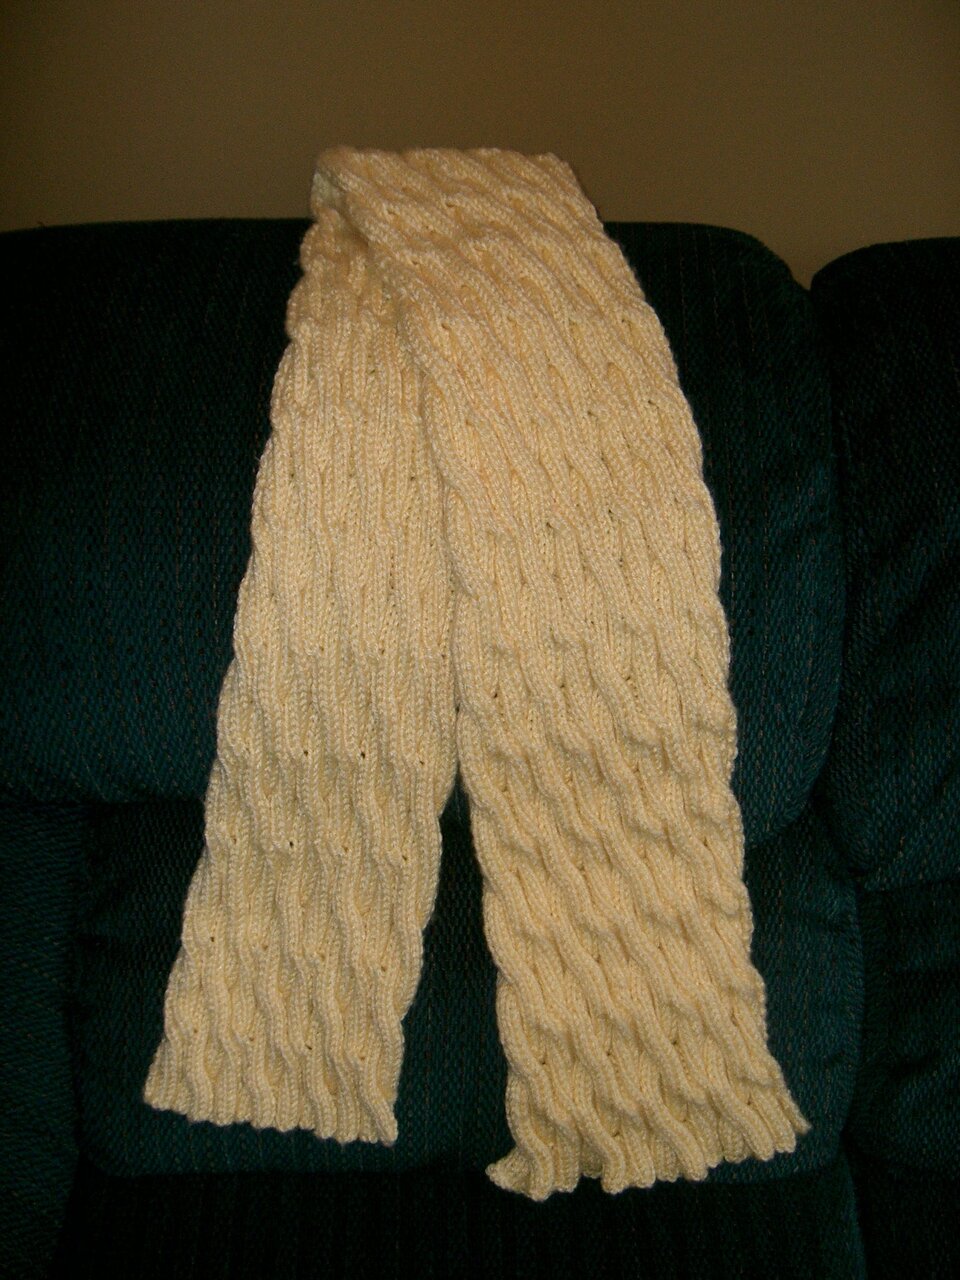
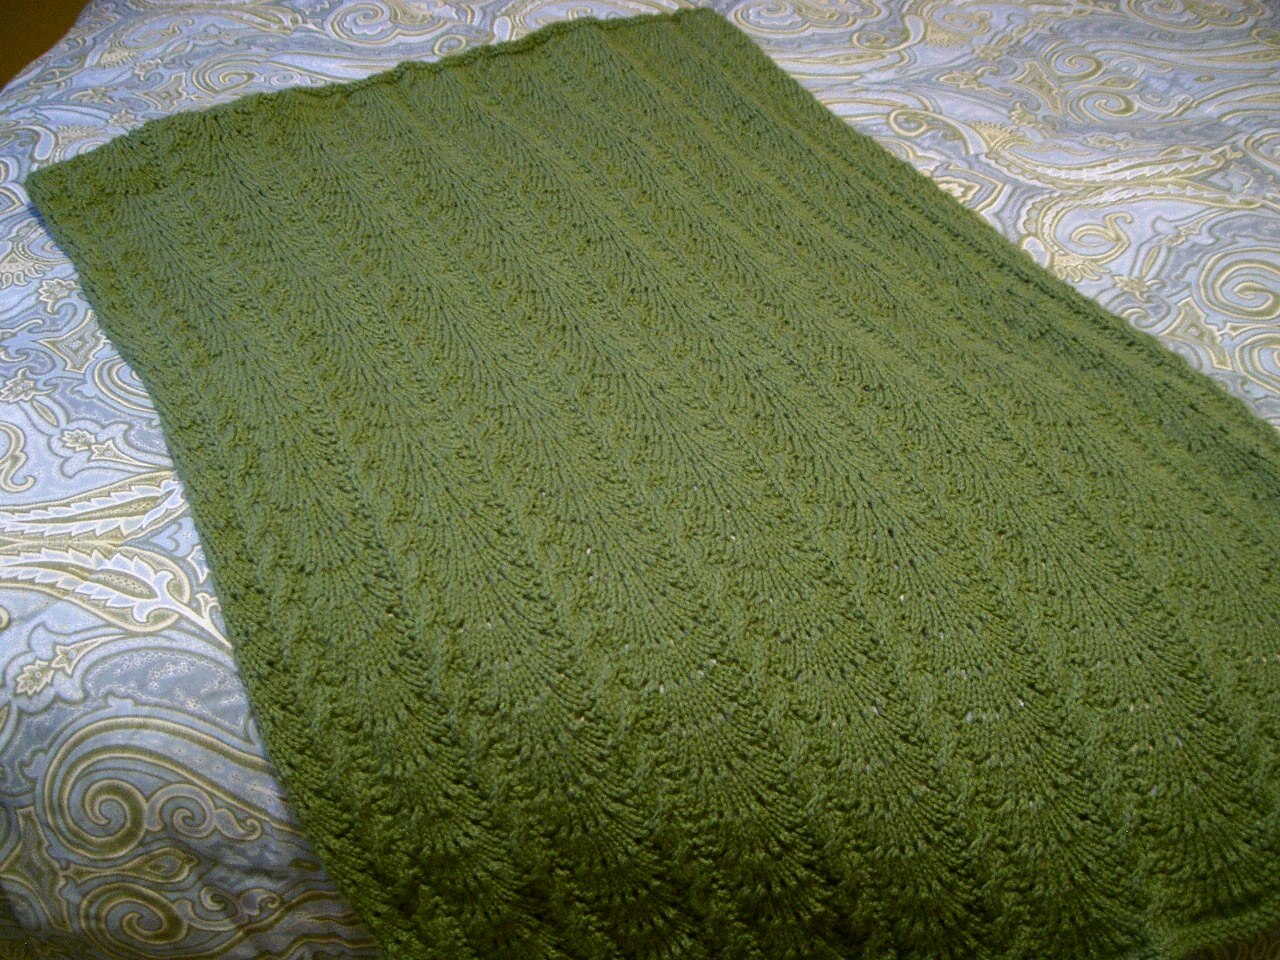
A fairly traditional pattern on this afghan, the yarn lends itself well to this simple cable-and-scallop design.
Intarsia in the Round
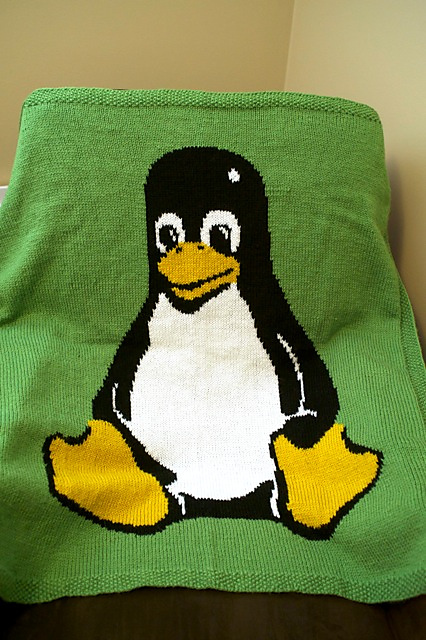
Yeah, another knitting post, and so soon, too! Okay, so this is a post all about Intarsia-style colour knitting in the round, as the title might suggest. See, when I was working on my pacman cap, I had this problem: when you knit Intarsia-style, you basically have colour strands for each “section” of the piece. So, if you’re knitting flat and you’re making a black field with a big yellow section, you’d knit with black, switch to yellow, knit across, then switch to a new strand of black and knit to the end of the row. Going back, you’d do the same thing, and each time you change colours, you do a little yarn wrapping trick to make sure there’s no gaps. The result is, on the back, there is no black carried across the yellow section, which is very nice as it means you have to worry less about puckering and tension, etc.
Problem is, suppose you’re knitting in the round. So you knit in black, switch to yellow, knit across, switch back to black, knit around… and then you’re back to the yellow section. Problem: you now have two black strands, and the yellow is way over on the other side of the yellow section. What do you do? What do you do??
Well, in my pacman hat, I basically cheated. When I got to the section of colour, I switched from round knitting to back-and-forth, and when the coloured rows were done, I switched back to knitting in the round. Then, during the finishing stage, I just sewed up the little seam. Pretty simple, really, but it left a bulky little seam there, and a) I hate bulky little seams, and b) I just hate seams.
So, what’s the real answer? Well, I could explain it, but instead, why don’t I leave it to Sara to answer that question? In an explanation that’s much better than anything I could compose, she outlines three different methods for dealing with the issue, one involving carrying strands around the piece, one using gapless short rows, and a third, far more ingenious technique that I really must try some time…